Stateful Widgets
1 App Development
1.1 Blank App
    import 'package:flutter/material.dart';

    void main(){
        runApp(MaterialApp(
            home: Home(),
        ));
    }

    class Home extends StatelessWidget{
        @override
        Widget build(BuildContext context)
        {
            return Scaffold(
            );
        }
    }
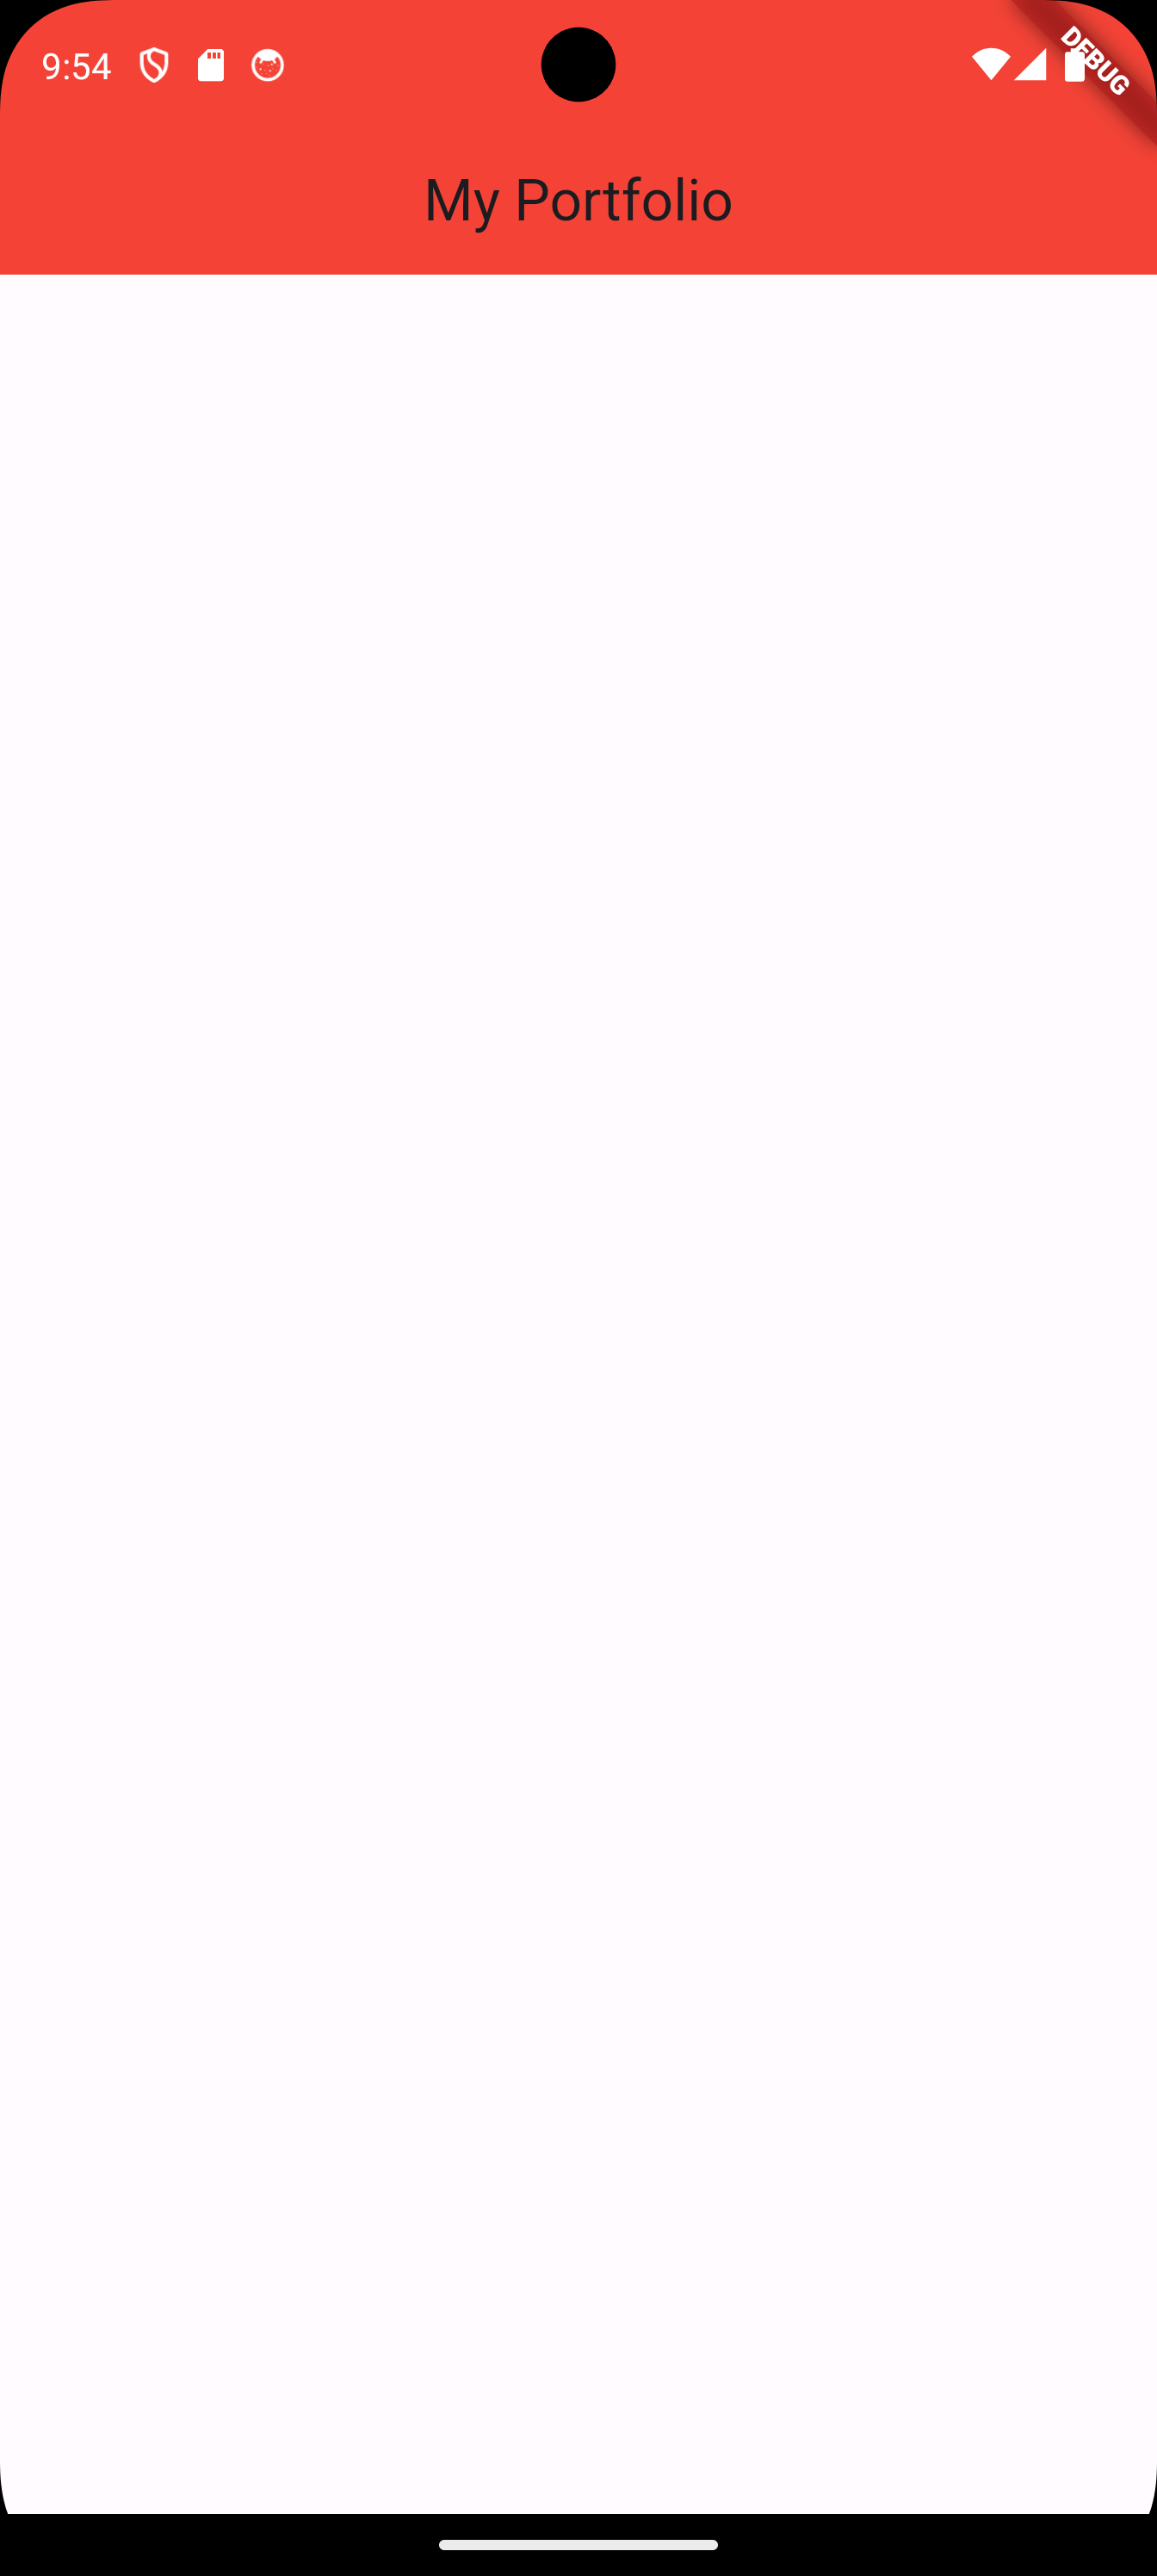
1.2 Adding an App Bar
    import 'package:flutter/material.dart';

    void main(){
        runApp(MaterialApp(
            home: Home(),
        ));
    }

    class Home extends StatelessWidget{
        @override
        Widget build(BuildContext context)
        {
            return Scaffold(
                appBar: AppBar(
                            title: Text('My Portfolio'),
                            backgroundColor: Colors.red,
                            centerTitle: true,
                        ),
            );
        }
    }
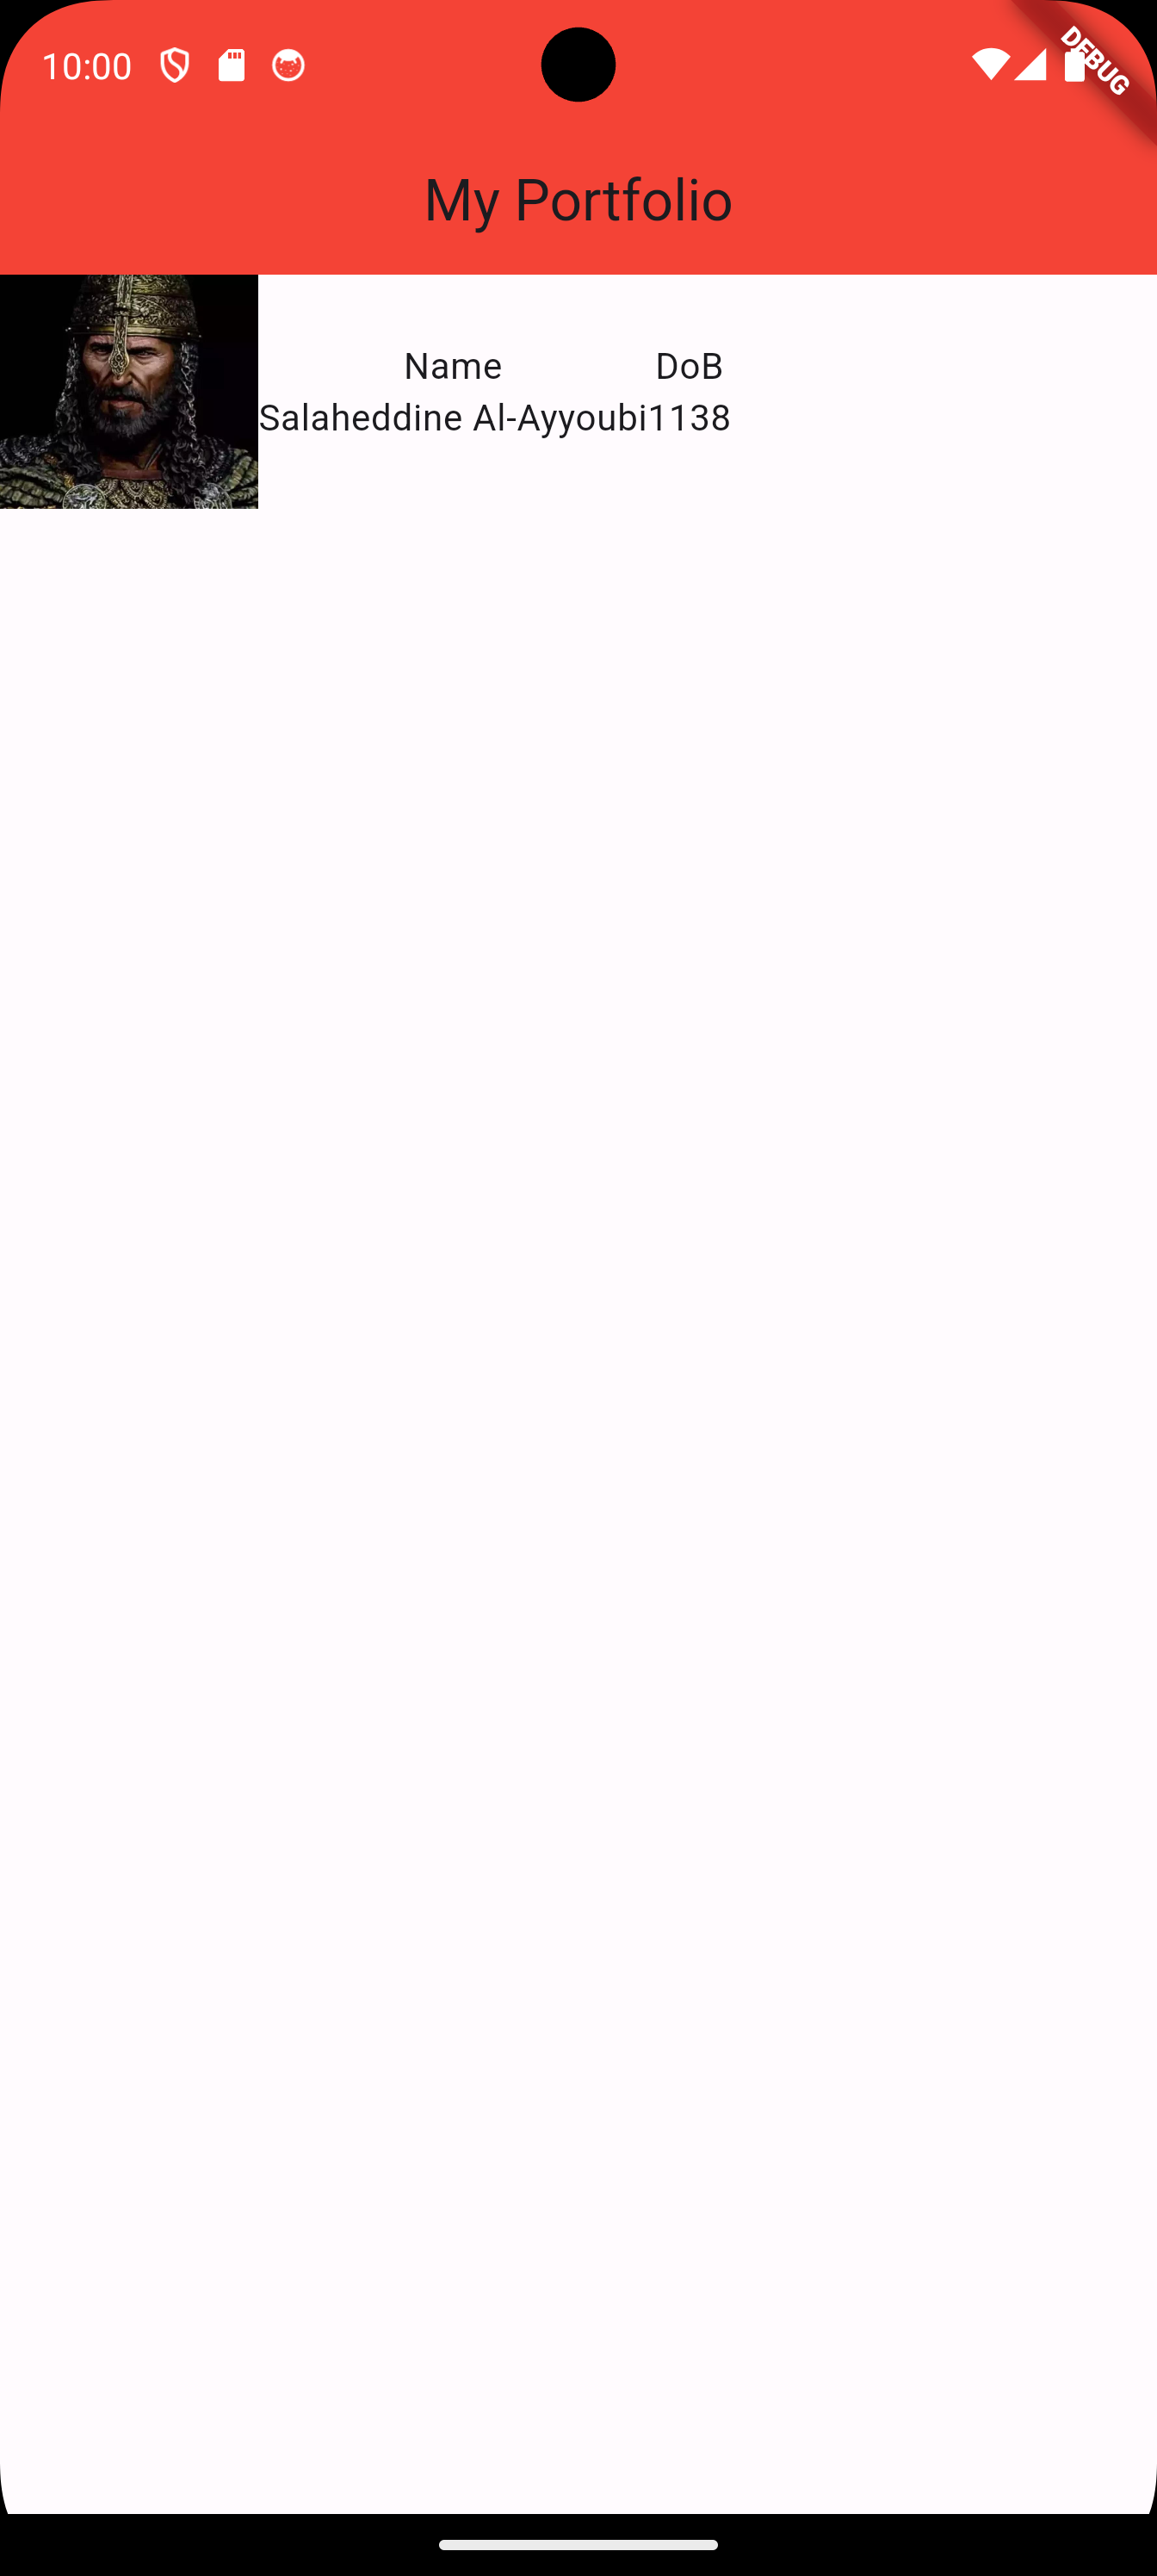
1.3 Adding a Photo, Name, and DoB
    import 'package:flutter/material.dart';

    void main()
    {
        runApp(MaterialApp(
            home: Home(),
        ));
    }

    class Home extends StatelessWidget
    {
        Widget build(BuildContext context)
        {
            return Scaffold(
                appBar: AppBar(
                    title: Text('My Portfolio'),
                    backgroundColor: Colors.red,
                    centerTitle: true,
                ),
                // we will need several rows for the portfolio,
                // so we use a column to contain them all
                body: Column(
                    children: [
                        // the first row of the column, will contain
                        // a photo, name, and dob
                        Row(
                            children: [
                                // the photo
                                Image.asset(
                                    'lib/assets/images/salah.jpeg',
                                    width: 100,
                                    ),
                                // the name
                                Column(
                                    children: [
                                        Text('name'),
                                        Text('Salah'),
                                    ],
                                ),
                                // the dob
                                Column(
                                    children: [
                                        Text('DoB'),
                                        Text('1138'),
                                    ],
                                ),

                            ],
                        ),
                    ],
                )
            );
        }
    }
1.4 Beautifying the Top Row (I)
We want to fix the following issues.
-
Space evenly the three components of the row. Right now, they are flushed to the left.
-
We need to left-align the text.
-
We need to use different font weights to enhance the style.
-
We need to add some vertical space on top of the first row.
    import 'package:flutter/material.dart';

    void main()
    {
        runApp(MaterialApp(
            home: Home(),
        ));
    }

    class Home extends StatelessWidget
    {
        Widget build(BuildContext context)
        {
            return Scaffold(
                appBar: AppBar(
                    title: Text('My Portfolio'),
                    backgroundColor: Colors.red,
                    centerTitle: true,
                ),
                body: Column(
                    children: [
                        // quickly add vertical space
                        SizedBox(height: 30),
                        Row(
                            // add this property to add equal spaces between the
                            // elements of the row.
                            // "mainAxis" referes to the horizontal axis in the
                            // case of a row.
                            mainAxisAlignment: MainAxisAlignment.spaceEvenly,
                            children: [
                                // image
                                Image.asset(
                                    'lib/assets/images/salah.jpeg',
                                    width: 100,
                                    ),
                                // name
                                Column(
                                    // flush the elements in the column to the left.
                                    // the mainAxis of the column is the vertical axis.
                                    // the crossAxis of the column is the horizontal axis.
                                    // so, we want to move elements with respect to
                                    // the horizontal axis, i.e. horizontally
                                    crossAxisAlignment: CrossAxisAlignment.start,
                                    children: [
                                        Text('Name'),
                                        // add styling
                                        Text('Salaheddine Al-Ayyoubi',
                                            style: TextStyle(fontWeight: FontWeight.bold),
                                        ),
                                    ],
                                ),
                                // dob
                                Column(
                                    // flush the elements in the column to the left.
                                    crossAxisAlignment: CrossAxisAlignment.start,
                                    children: [
                                        Text('DoB'),
                                        // add styling
                                        Text('1138',
                                            style: TextStyle(fontWeight: FontWeight.bold),
                                        ),
                                    ],
                                ),

                            ],
                        ),
                    ],
                )
            );
        }
    }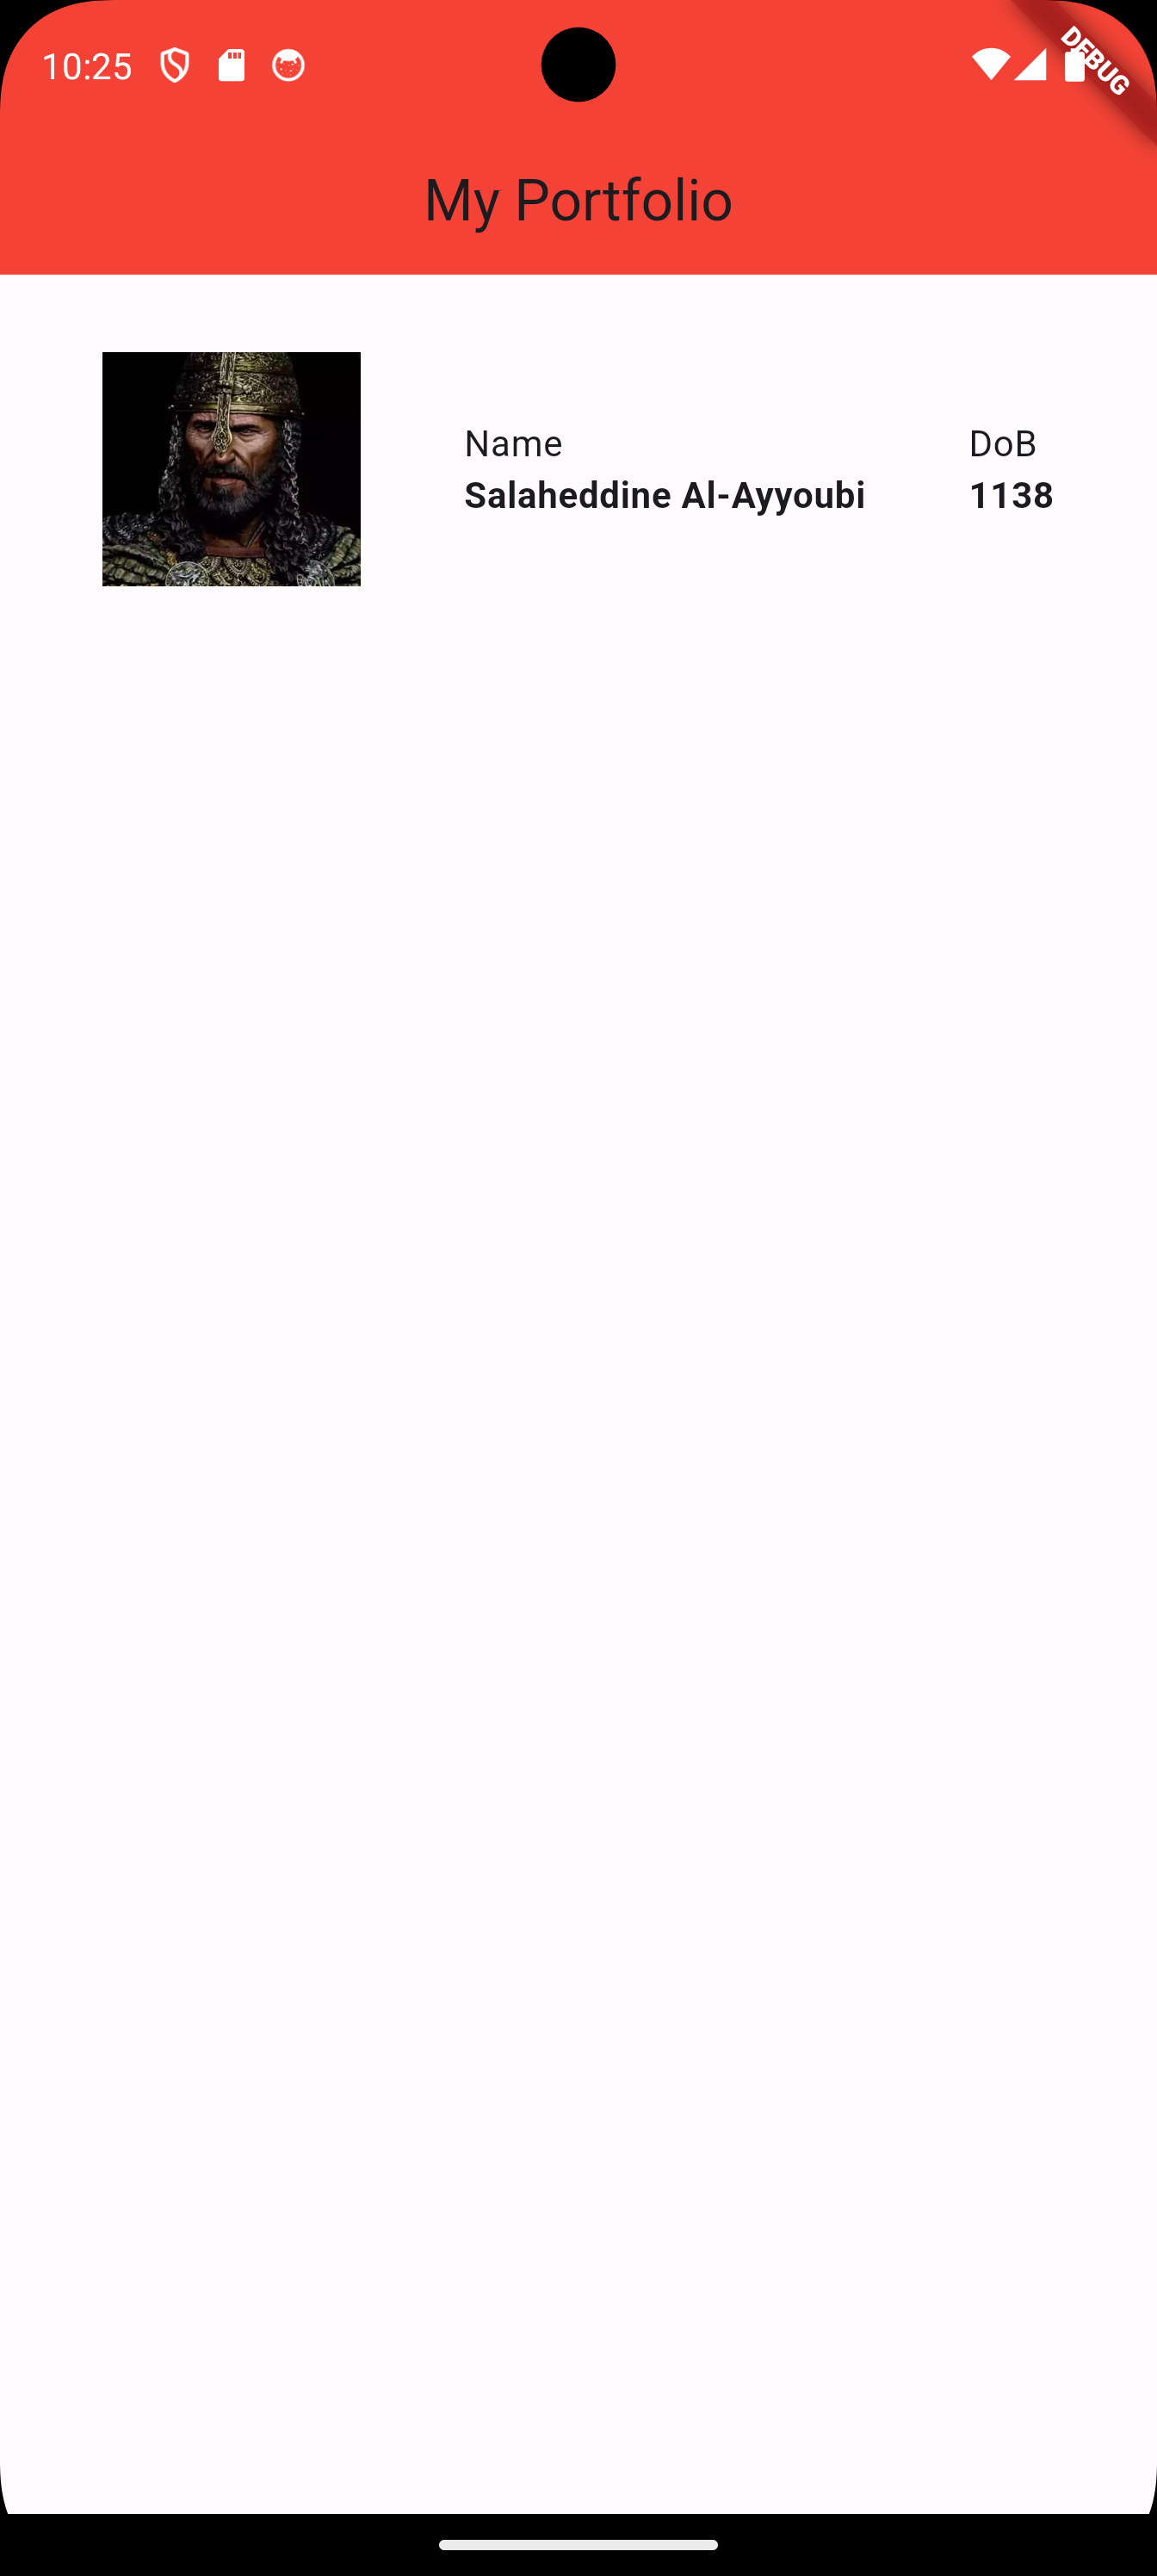
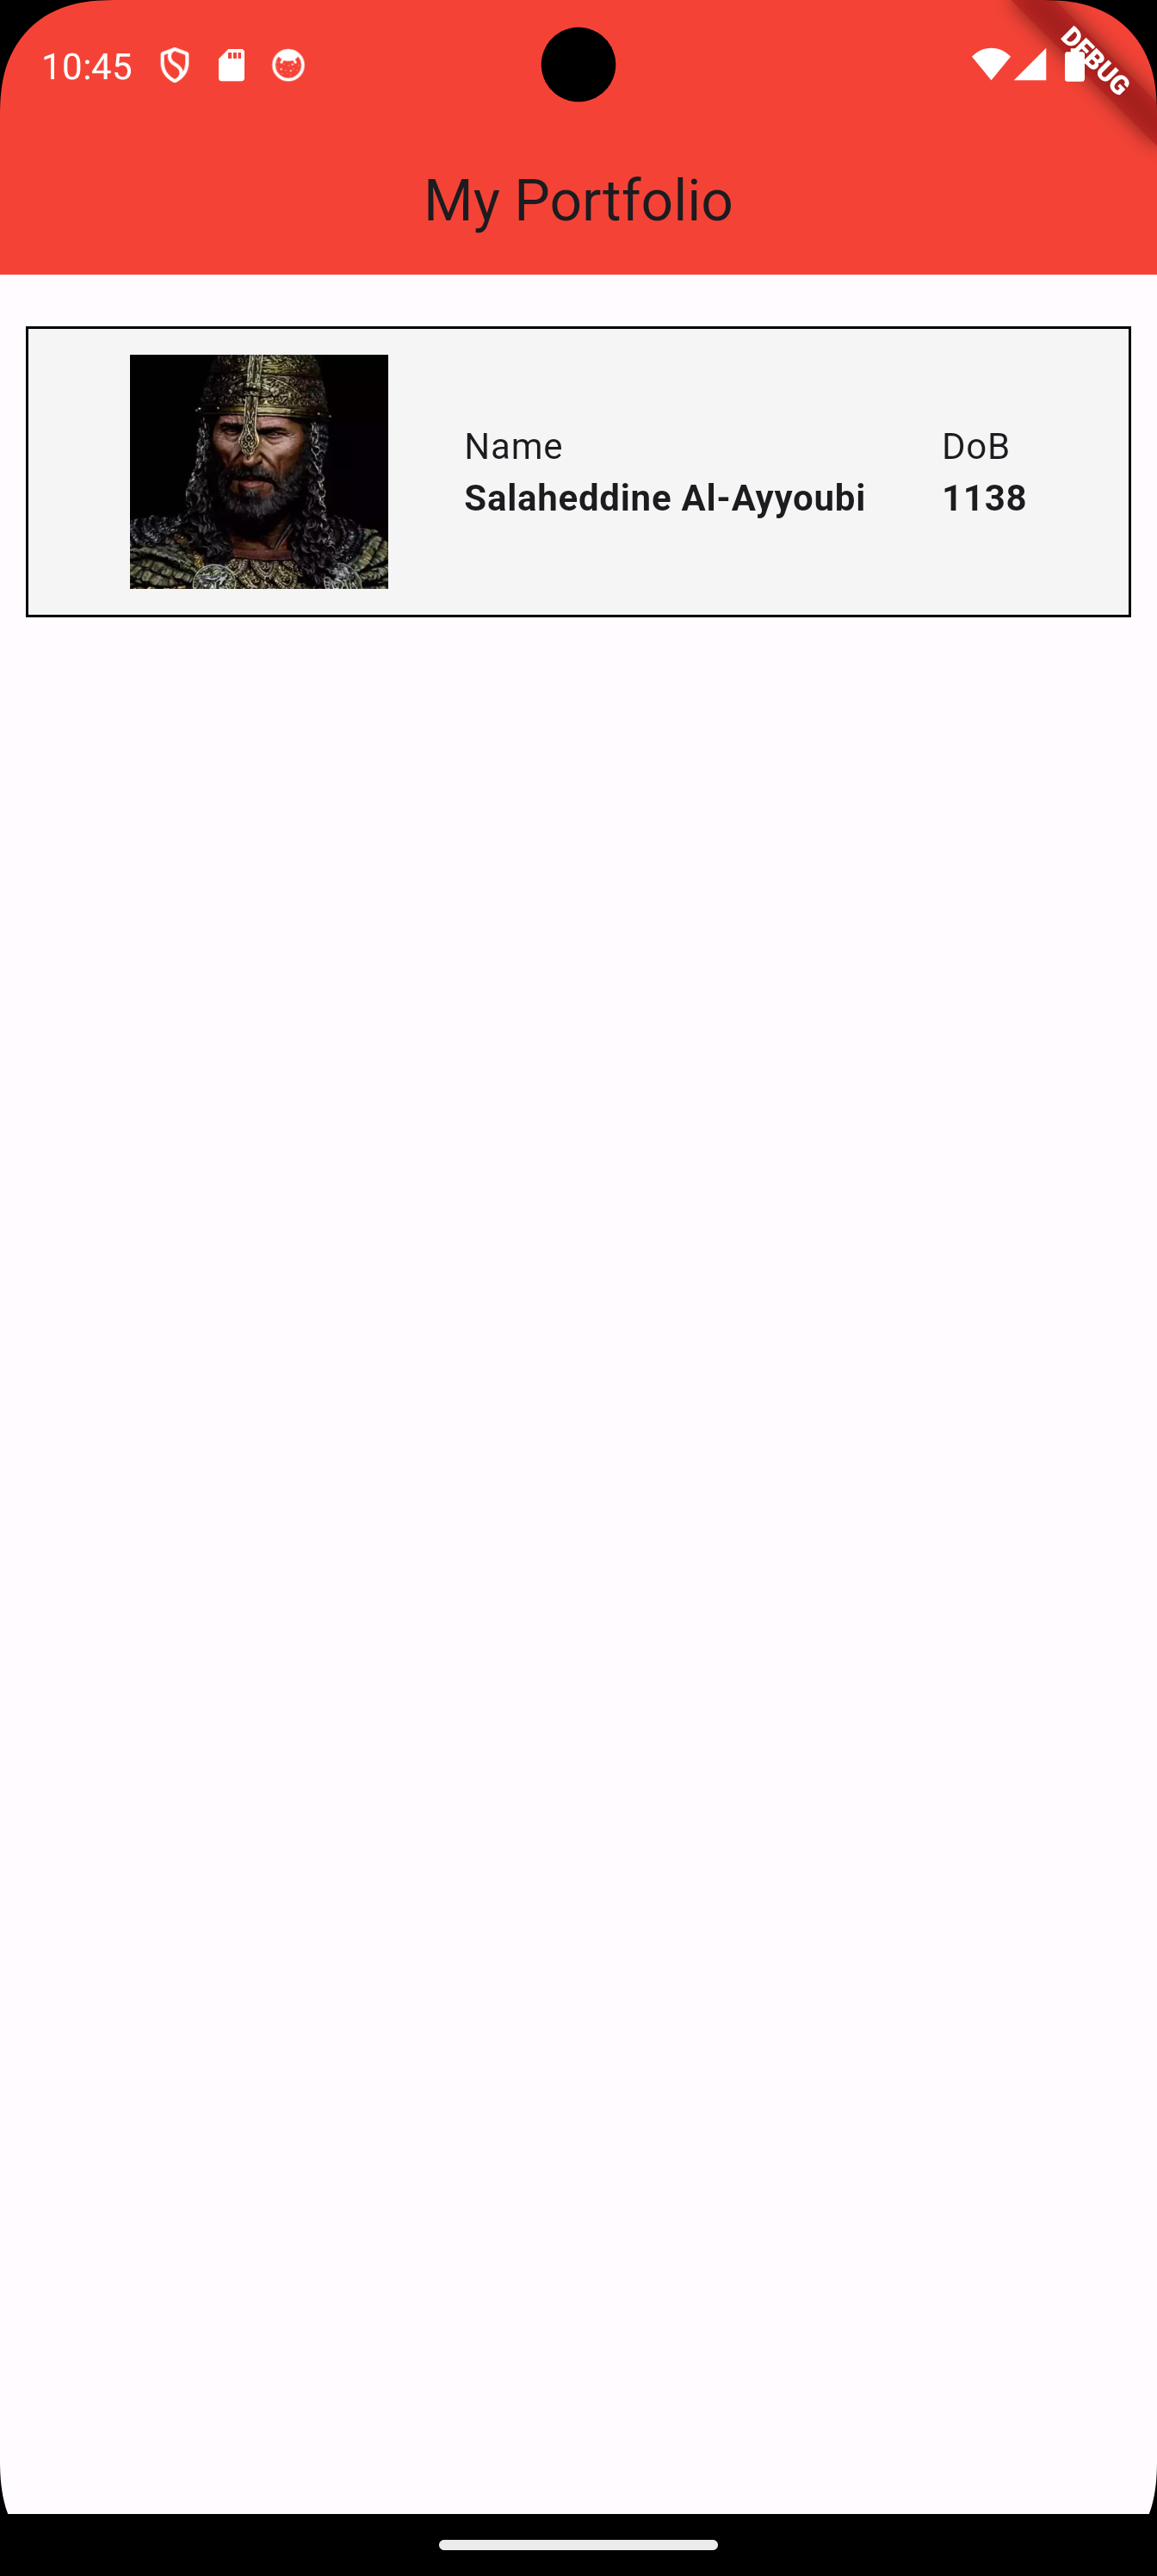
1.5 Beautifying the Top Row (II)
We want to fix the following issues.
-
Make the row more prominent by giving it a background color and a border.
    import 'package:flutter/material.dart';

    void main() {
      runApp(MaterialApp(
        home: Home(),
      ));
    }

    class Home extends StatelessWidget {
      Widget build(BuildContext context) {
        return Scaffold(
            appBar: AppBar(
              title: Text('My Portfolio'),
              backgroundColor: Colors.red,
              centerTitle: true,
            ),
            body: Column(
              children: [
                SizedBox(height: 20),
                // add a container in order to have some background color
                // and a border
                Container(
                  // use  decoration box to specify the styling of
                  // the container
                  decoration: BoxDecoration(
                      border: Border.all(color: Colors.black),
                      color: Colors.grey[100]),
                  // add some padding to the row from all four directions
                  padding: EdgeInsets.all(10),
                  // add a margin to the left and right
                  margin: EdgeInsets.only(left: 10, right: 10),
                  // this is the row, now wrapped in a container
                  child: Row(
                    mainAxisAlignment: MainAxisAlignment.spaceEvenly,
                    children: [
                      Image.asset(
                        'lib/assets/images/salah.jpeg',
                        width: 100,
                      ),
                      Column(
                        crossAxisAlignment: CrossAxisAlignment.start,
                        children: [
                          Text('Name'),
                          Text(
                            'Salaheddine Al-Ayyoubi',
                            style: TextStyle(fontWeight: FontWeight.bold),
                          ),
                        ],
                      ),
                      Column(
                        crossAxisAlignment: CrossAxisAlignment.start,
                        children: [
                          Text('DoB'),
                          Text(
                            '1138',
                            style: TextStyle(fontWeight: FontWeight.bold),
                          ),
                        ],
                      ),
                    ],
                  ),
                ),
              ],
            ));
      }
} 
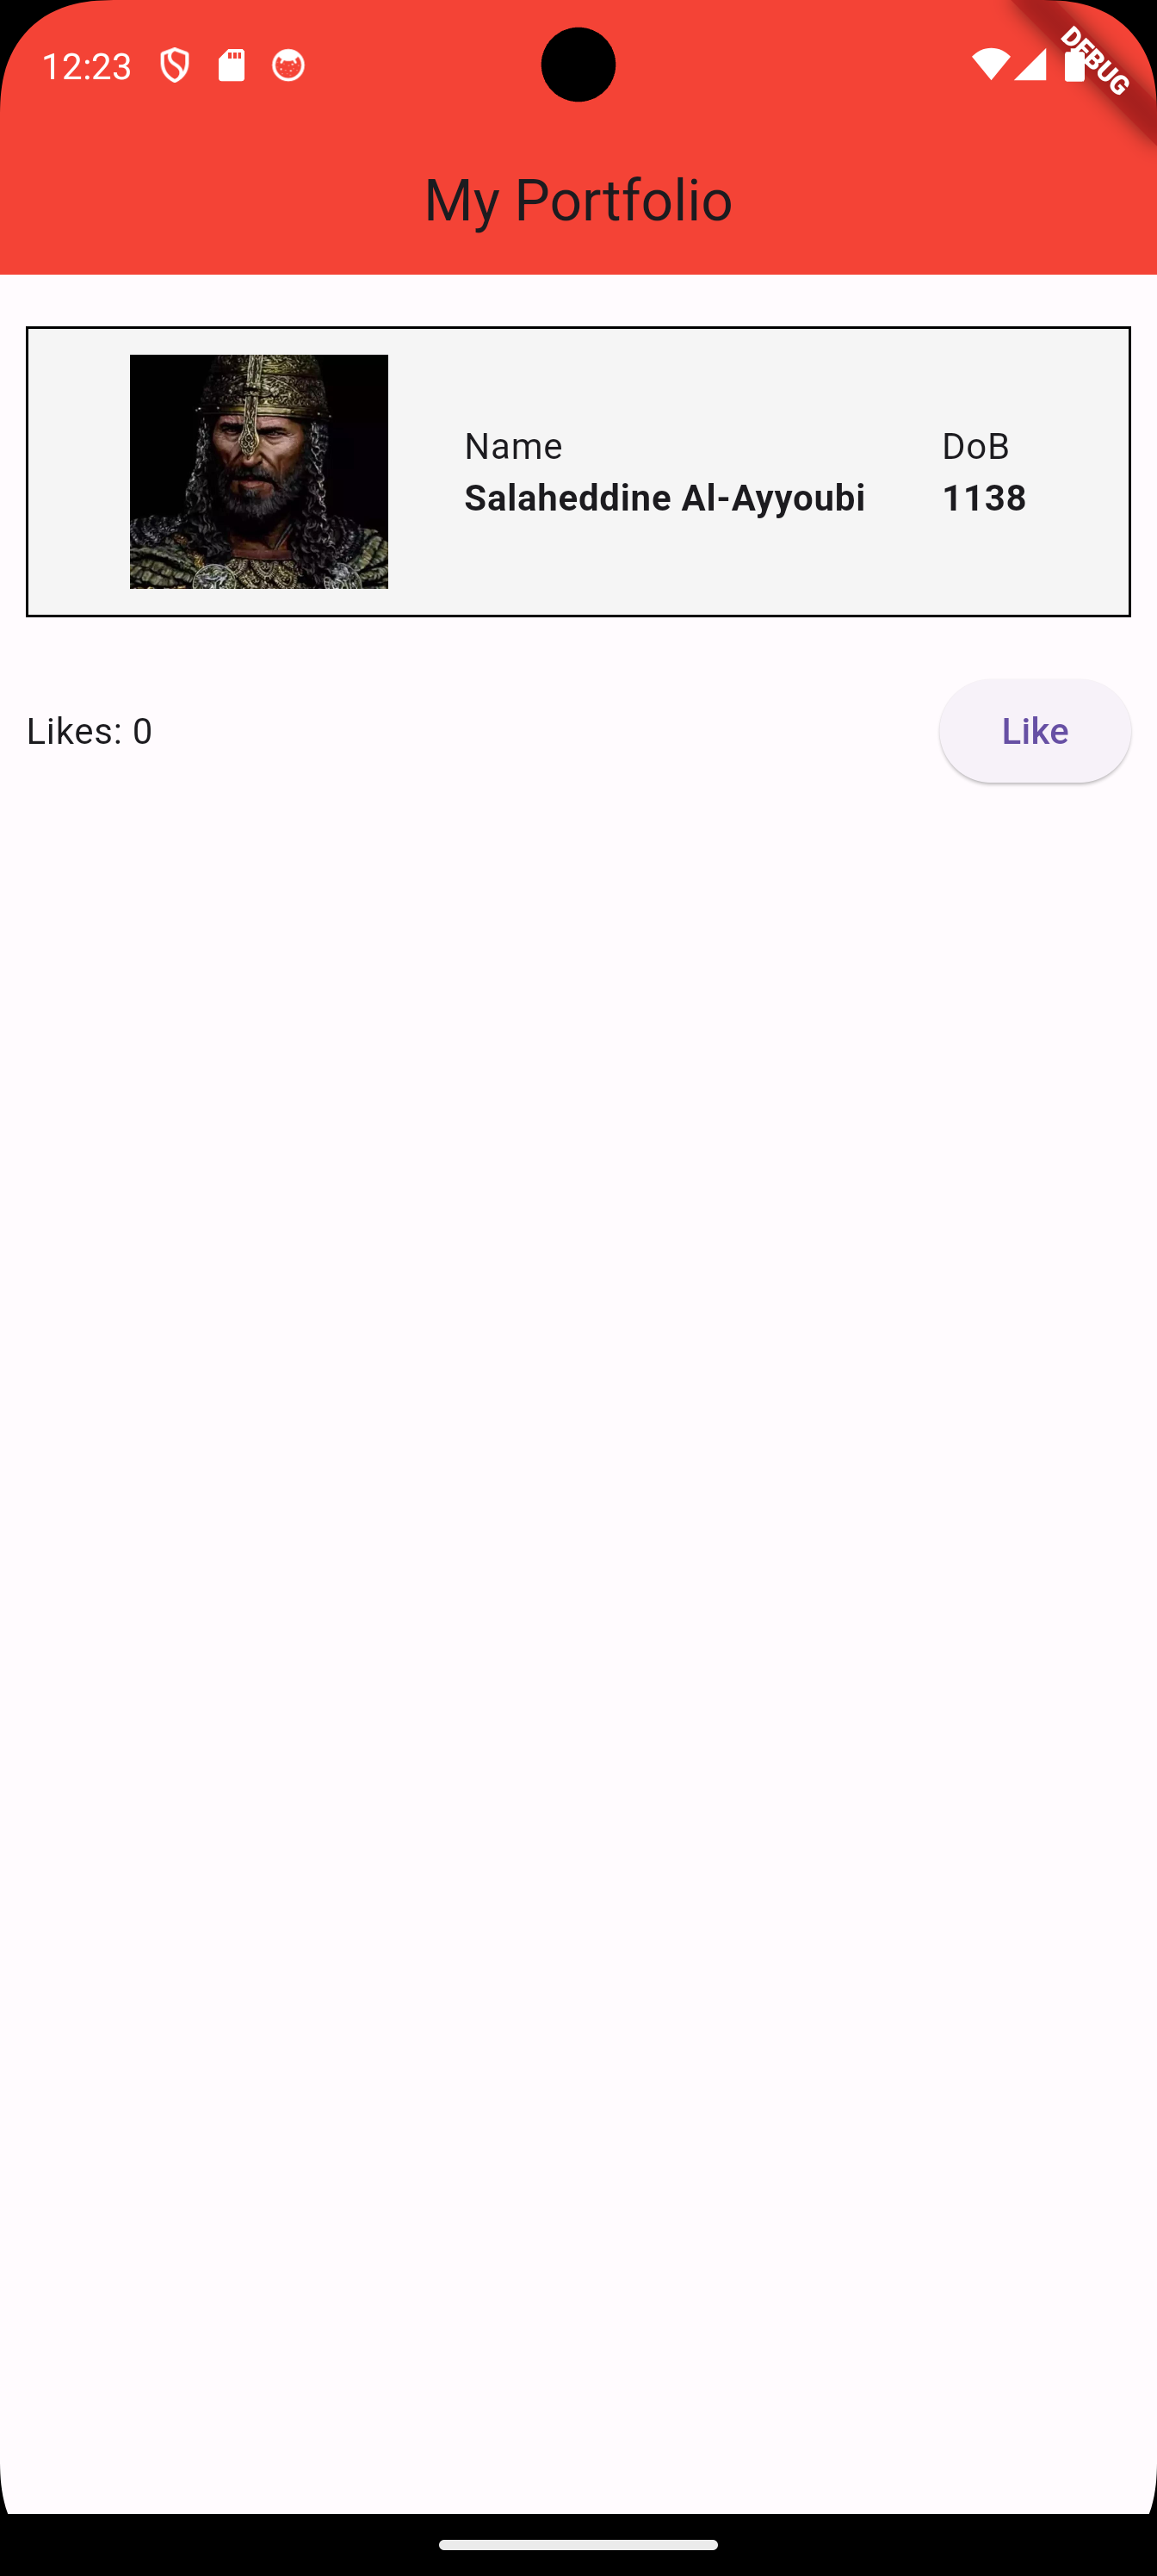
1.6 Adding Likes
    import 'package:flutter/material.dart';

    void main() {
      runApp(MaterialApp(
        home: Home(),
      ));
    }

    class Home extends StatelessWidget {
      Widget build(BuildContext context) {
        return Scaffold(
            appBar: AppBar(
              title: Text('My Portfolio'),
              backgroundColor: Colors.red,
              centerTitle: true,
            ),
            body: Column(
              children: [
                SizedBox(height: 20),
                Container(
                  decoration: BoxDecoration(
                      border: Border.all(color: Colors.black),
                      color: Colors.grey[100]),
                  padding: EdgeInsets.all(10),
                  margin: EdgeInsets.only(left: 10, right: 10),
                  child: Row(
                    mainAxisAlignment: MainAxisAlignment.spaceEvenly,
                    children: [
                      Image.asset(
                        'lib/assets/images/salah.jpeg',
                        width: 100,
                      ),
                      Column(
                        crossAxisAlignment: CrossAxisAlignment.start,
                        children: [
                          Text('Name'),
                          Text(
                            'Salaheddine Al-Ayyoubi',
                            style: TextStyle(fontWeight: FontWeight.bold),
                          ),
                        ],
                      ),
                      Column(
                        crossAxisAlignment: CrossAxisAlignment.start,
                        children: [
                          Text('DoB'),
                          Text(
                            '1138',
                            style: TextStyle(fontWeight: FontWeight.bold),
                          ),
                        ],
                      ),
                    ],
                  ),
                ),
                // add some vertical space
                SizedBox(height: 20),
                // a container enables us to set padding/margins
                Container(
                    // add some padding
                    padding: EdgeInsets.only(left: 10, right: 10),
                    // the row will contain text that displays the number of likes
                    // and a button
                  child: Row(
                    // this time, we align to push widgets inside the row
                    // to the edges
                    mainAxisAlignment: MainAxisAlignment.spaceBetween,
                    children: [
                        // text is fixed right now
                      Text('Likes: 100'),
                      // there are few types of buttons in flutter,
                      // this is one of them
                      ElevatedButton(
                        // this is the function that specifies what happens
                        // when the button is clicked,
                        // right now it is empty
                        onPressed: () {},
                        // this is the text written on the button
                        child: Text('Like'),
                      )
                    ],
                  ),
                ),
              ],
            ));
      }
} 
1.7 Incrementing Likes Using a Stateless Widget
Our first attempt is to define a variable likes and set it to 0 inside the Home class. Then, change the onpressed() function to increment the variable. Finally, display the value of the variable in the Text widget.
    import 'package:flutter/material.dart';

    void main() {
      runApp(MaterialApp(
        home: Home(),
      ));
    }

    class Home extends StatelessWidget {
      // create a variable to contain likes
      int likes = 0;

      Widget build(BuildContext context) {
        return Scaffold(
            appBar: AppBar(
              title: Text('My Portfolio'),
              backgroundColor: Colors.red,
              centerTitle: true,
            ),
            body: Column(
              children: [
                SizedBox(height: 20),
                Container(
                  decoration: BoxDecoration(
                      border: Border.all(color: Colors.black),
                      color: Colors.grey[100]),
                  padding: EdgeInsets.all(10),
                  margin: EdgeInsets.only(left: 10, right: 10),
                  child: Row(
                    mainAxisAlignment: MainAxisAlignment.spaceEvenly,
                    children: [
                      Image.asset(
                        'lib/assets/images/salah.jpeg',
                        width: 100,
                      ),
                      Column(
                        crossAxisAlignment: CrossAxisAlignment.start,
                        children: [
                          Text('Name'),
                          Text(
                            'Salaheddine Al-Ayyoubi',
                            style: TextStyle(fontWeight: FontWeight.bold),
                          ),
                        ],
                      ),
                      Column(
                        crossAxisAlignment: CrossAxisAlignment.start,
                        children: [
                          Text('DoB'),
                          Text(
                            '1138',
                            style: TextStyle(fontWeight: FontWeight.bold),
                          ),
                        ],
                      ),
                    ],
                  ),
                ),
                SizedBox(height: 20),
                Container(
                    padding: EdgeInsets.only(left: 10, right: 10),
                  child: Row(
                    mainAxisAlignment: MainAxisAlignment.spaceBetween,
                    children: [
                      // display the number of likes
                      Text('Likes: $likes'),
                      ElevatedButton(
                        // increase the number of likes each time the
                        // button is pressed
                        onPressed: () {likes++;},
                        child: Text('Like'),
                      )
                    ],
                  ),
                ),
              ],
            ));
      }
    }
The compiler will give us a warning that we are defining a non final variable inside a StatelessWidget class. However, we are able to build and run the app.
We can see that the value of likes is 0. However, no matter how many times we click the button, the value of likes does not change.
Now, do the following experiment.
-
Restart the application i.e. do not just hot-reload it. You should see
0as the number of likes. -
Click the
Likebutton 5 times. You should not witness any change in the value of likes. -
Hot reload the application. You should see that the number of likes is
5.
What happens is that things are changing inside the app, however, they are not being reflected in the widget tree. This is because we are using a StatelessWidget. Instead, we should use a StatefulWidget