Creating User Interfaces with Flutter
1.7 Adding an Image
In order to add an image, we need to perform the following steps.
-
We first need to obtain the image.
-
We need to create a folder in the IDE for the image, and then drag and drop the image file from the file manager to the created folder in the IDE.
-
Then, we need to modify the
pubspec.yamlby adding the following information at the bottom. Again, the filepubspec.yamlis very sensitive about spaces, so always indent by exactly two spaces.flutter: uses-material-design: true # This is where I am adding the font fonts: # The name I am choosing for this font is NormandyBeach - family: NormandyBeach fonts: # This is the path to the font in the project - asset: lib/assets/fonts/NormandyBeach3DItalic.otf # We add images here assets: # We can either specify the folder to add all images to it # Or we can add only the image by specifying its filename # Notice that if the image is in lib/assets/images/subfolder, # it will not be added here - lib/assets/images/
import 'package:flutter/material.dart';
void main(){
runApp(MaterialApp(
home: Home(),
));
}
class Home extends StatelessWidget{
@override
Widget build(BuildContext context)
{
return Scaffold(
appBar: AppBar(
title: const Text('Page Title'),
centerTitle: true,
backgroundColor: Colors.blue[500],
),
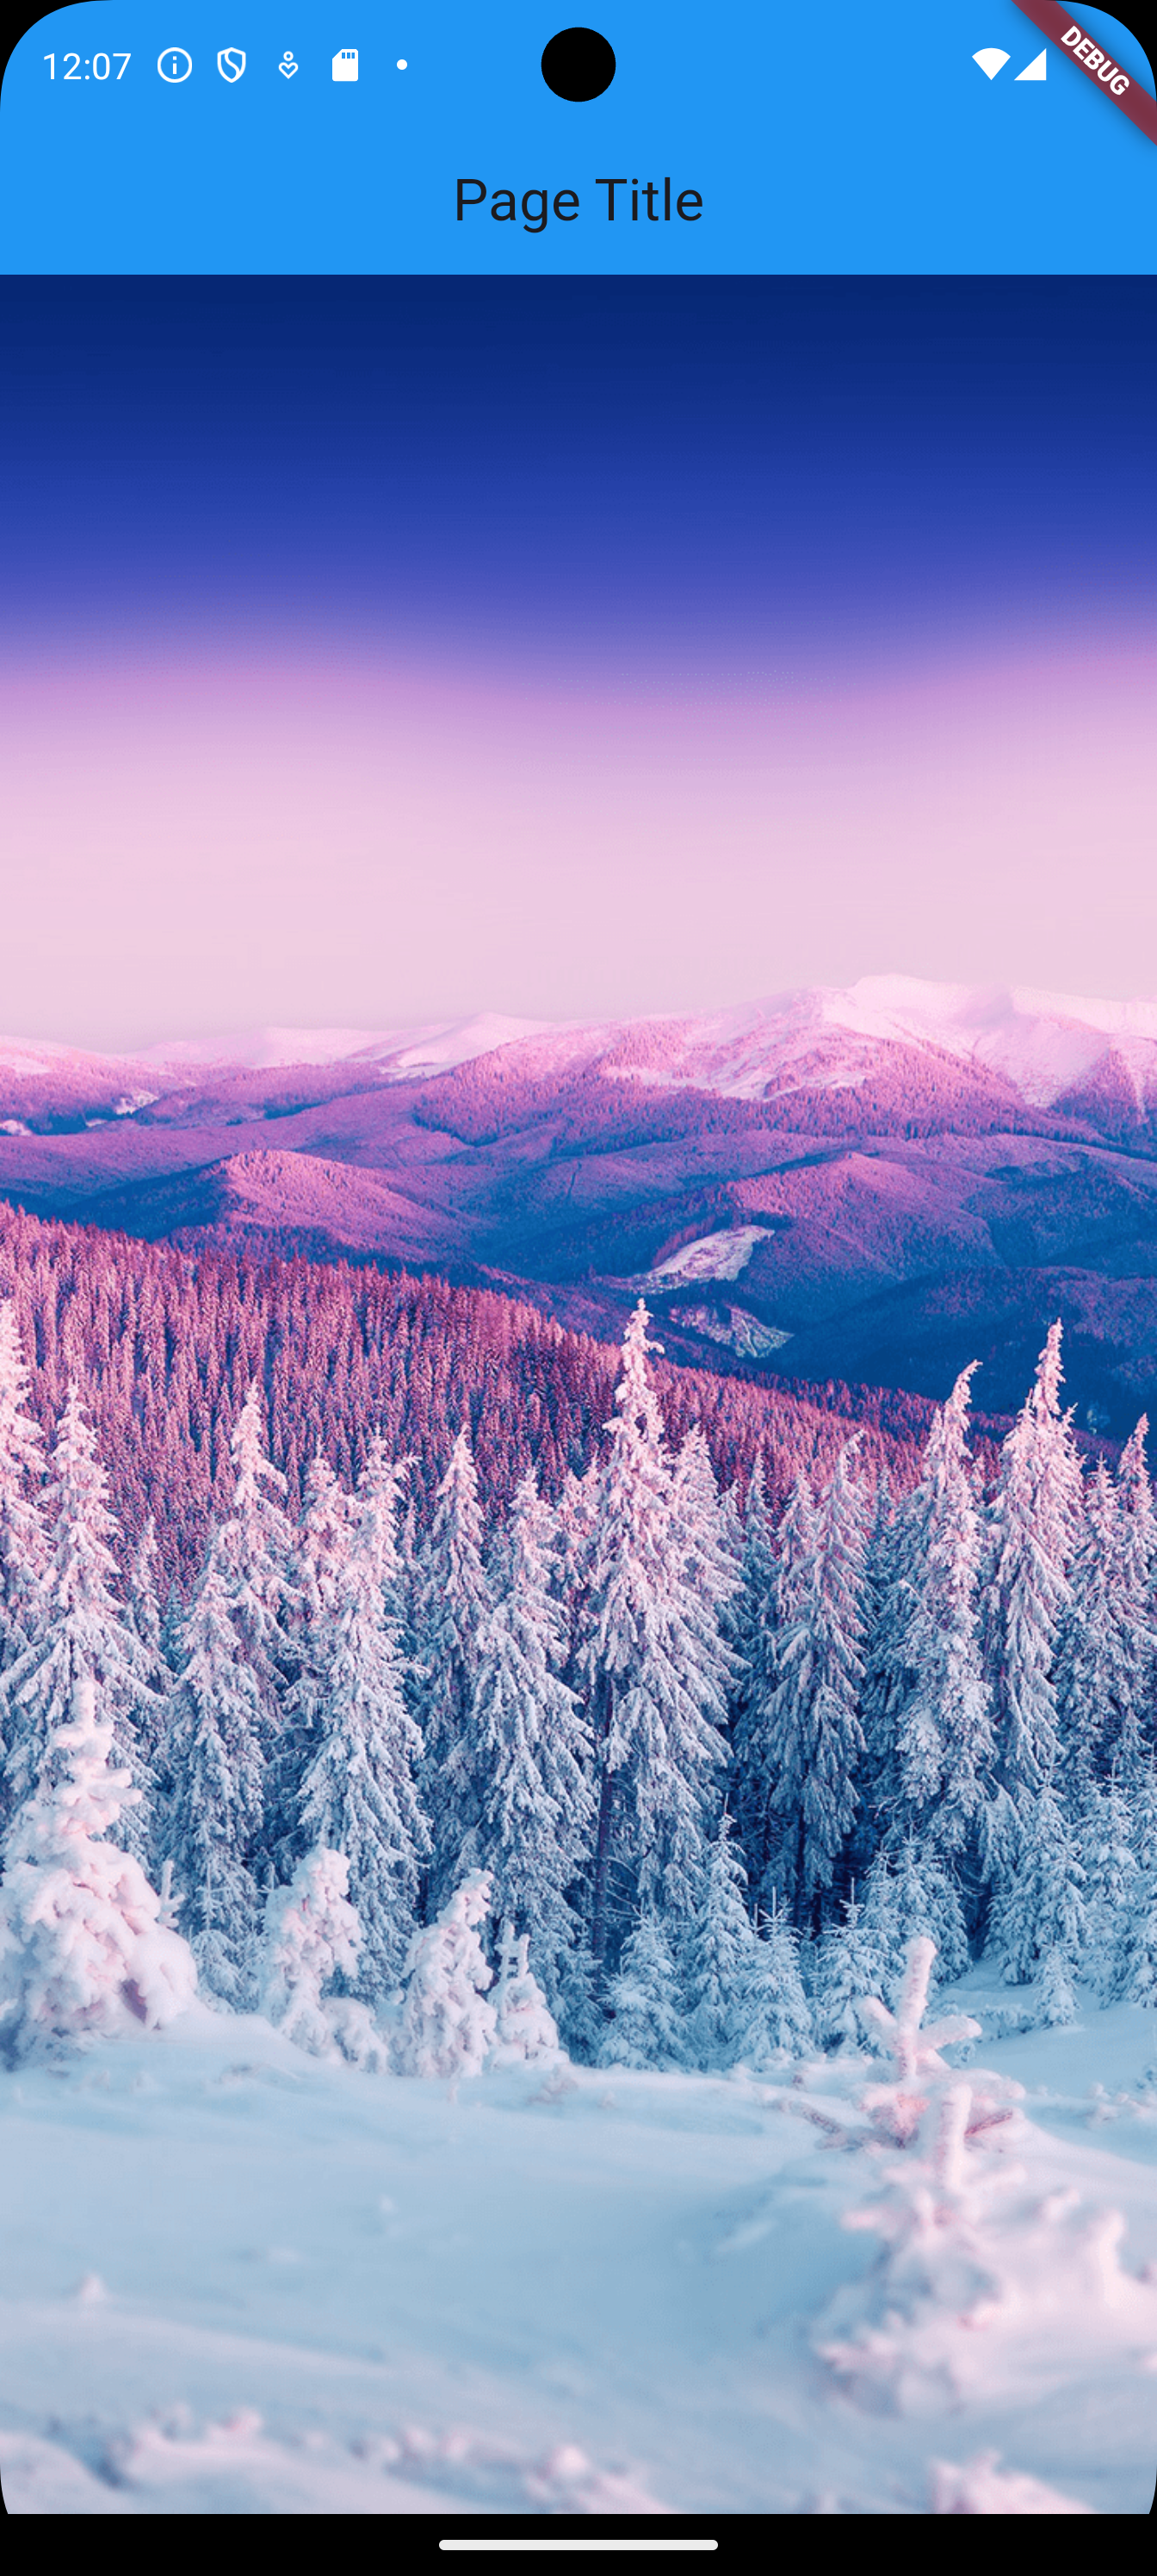
body: Center(
child: Image.asset('lib/assets/images/snow-1.png')
),
);
}
}
1.8 Stretching an Image
In the previous example, you can notice two spaces, one at the top of the image, and one at the bottom of the image; which looks unprofessional. In order to stretch the image to fill the whole space, we can use the following (there are other ways).
    import 'package:flutter/material.dart';

    void main() {
        runApp(MaterialApp(
            home: Home(),
        ));
    }

    class Home extends StatelessWidget {
        @override
        Widget build(BuildContext context) {
            return Scaffold(
                appBar: AppBar(
                    title: const Text('Page Title'),
                    centerTitle: true,
                    backgroundColor: Colors.blue[500],
                ),
                body: Center(
                    // use SizedBox
                    child: SizedBox.expand(
                        child: Image.asset(
                            'lib/assets/images/snow-1.png',
                            // stretch to fill
                            fit: BoxFit.fill,
                        )
                    ),
                ),
            );
        }
    }
We can also use:
    import 'package:flutter/material.dart';

    void main() {
        runApp(MaterialApp(
            home: Home(),
        ));
    }

    class Home extends StatelessWidget {
        @override
        Widget build(BuildContext context) {
            return Scaffold(
                appBar: AppBar(
                    title: const Text('Page Title'),
                    centerTitle: true,
                    backgroundColor: Colors.blue[500],
                ),
                body: Center(
                    child: Image.asset(
                        'lib/assets/images/snow-1.png',
                        fit: BoxFit.fill,
                        // stretch by hand
                        height: double.infinity,
                        width: double.infinity,
                    ),
                ),
            );
        }
} 
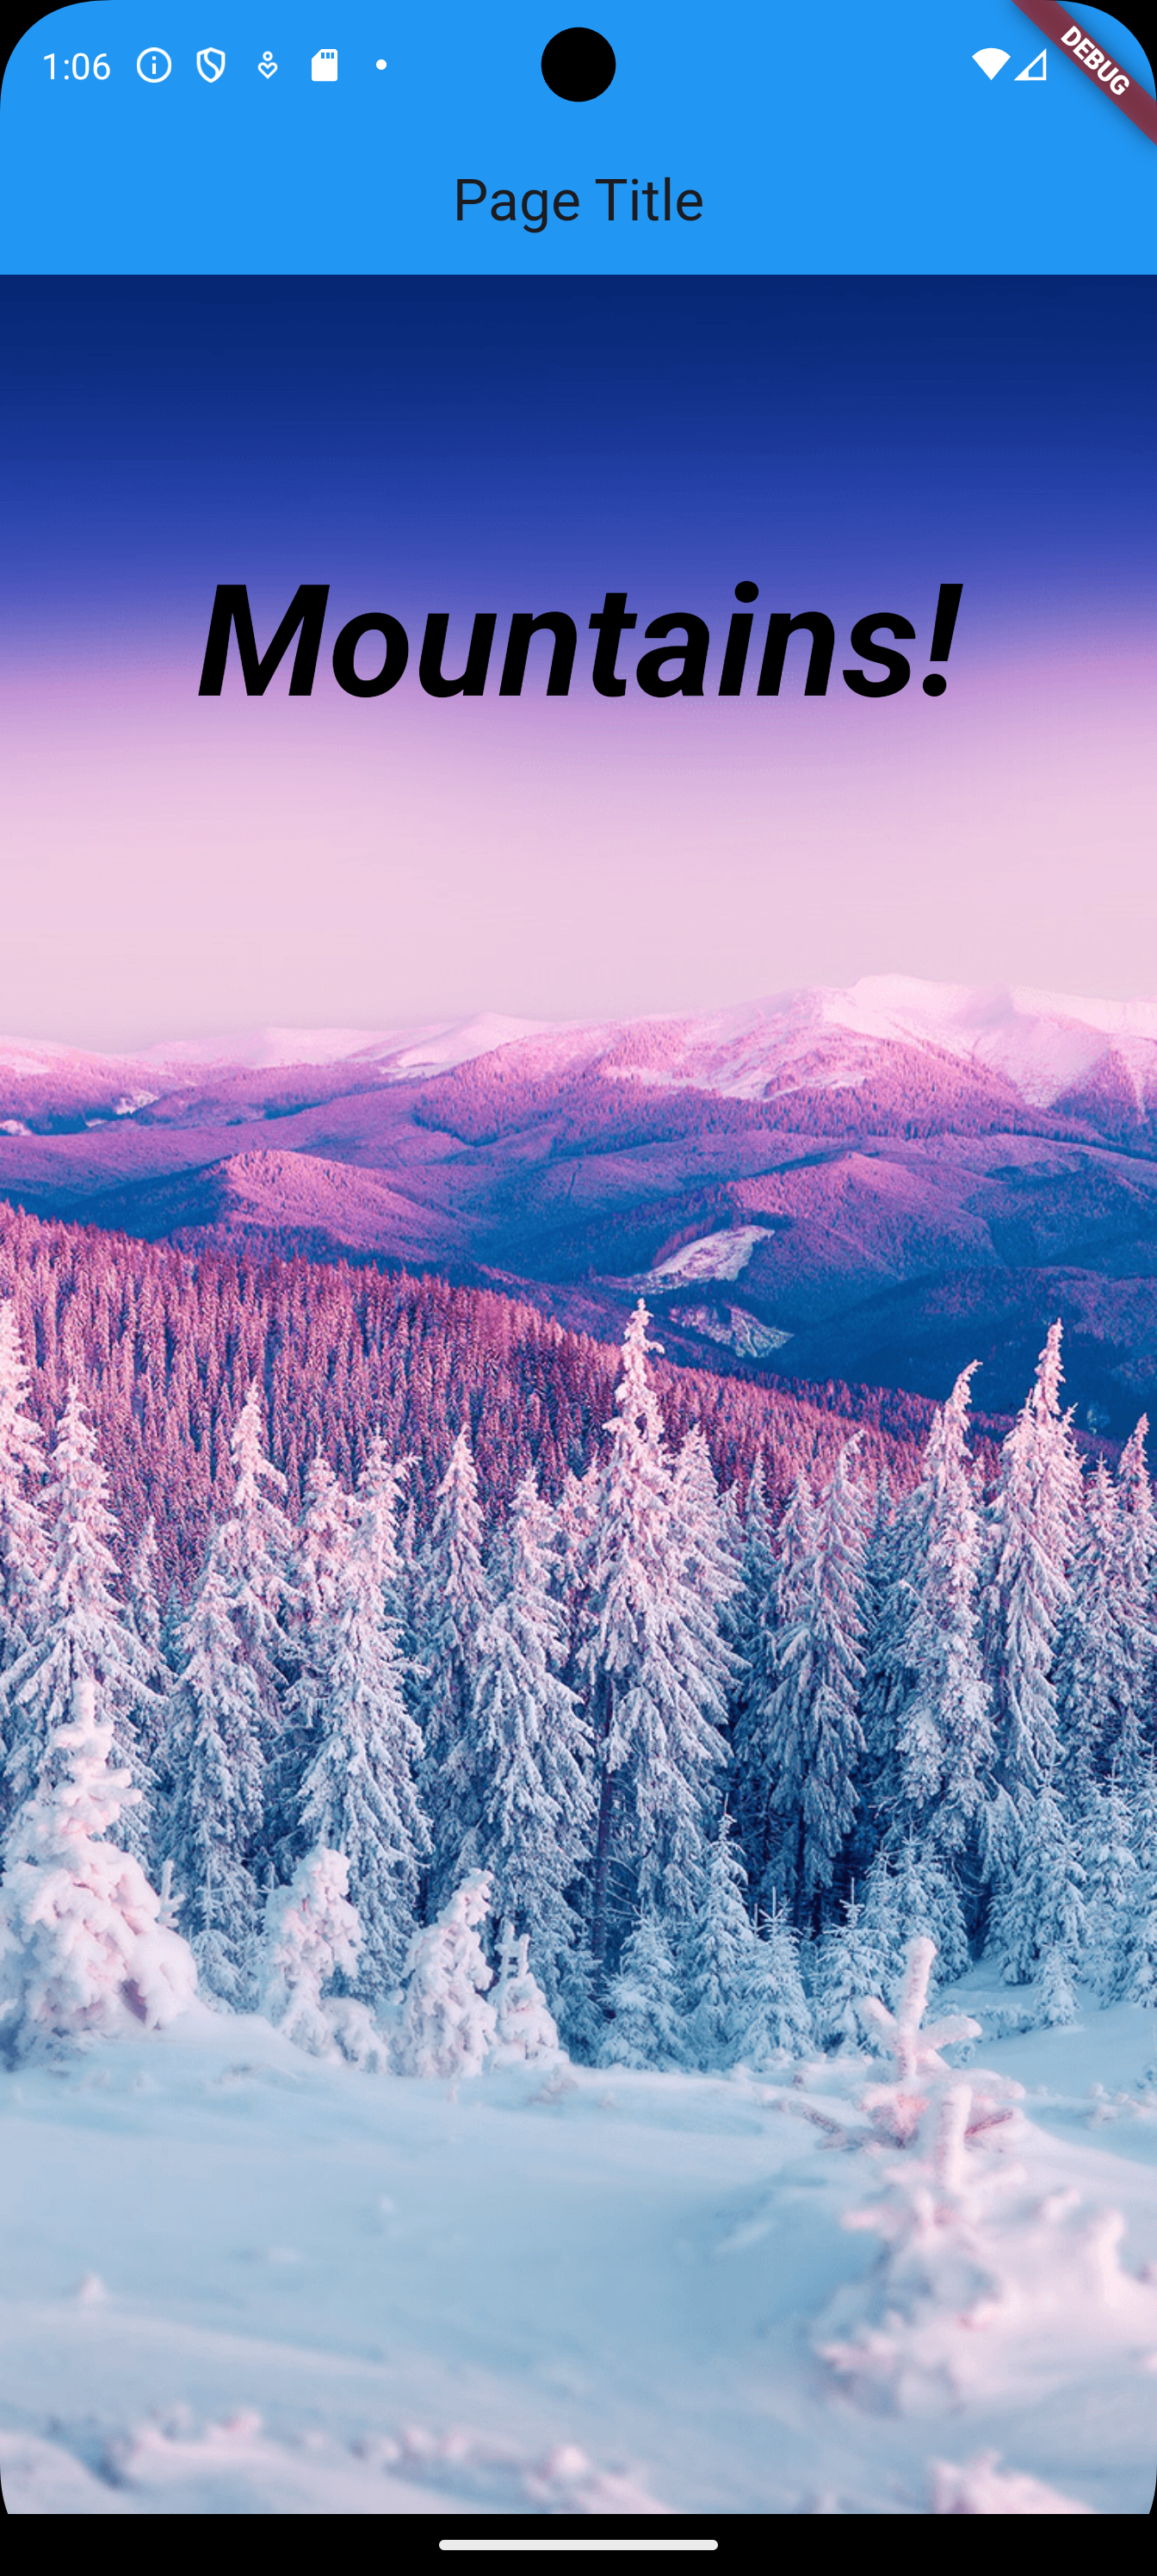
1.9 Text on Top of Image
If we want to position widgets on top of each other, we use the Stack widget. Let’s position the text we had on top of the image.
    import 'package:flutter/material.dart';

    void main() {
        runApp(MaterialApp(
            home: Home(),
        ));
    }

    class Home extends StatelessWidget {
        @override
        Widget build(BuildContext context) {
            return Scaffold(
                appBar: AppBar(
                    title: const Text('Page Title'),
                    centerTitle: true,
                    backgroundColor: Colors.blue[500],
                ),
                // Use stack
                body: Stack(
                    // Instead of one child widget,
                    // we use a list of child widgets
                    children: [
                        // first child widget is the bottom
                        // of the stack
                        Center(
                            child: Image.asset(
                                'lib/assets/images/snow-1.png',
                                fit: BoxFit.fill,
                                height: double.infinity,
                                width: double.infinity,
                            )
                        ),
                        // second child widget is on top
                        // of the first child widget
                        Center(
                            child: Text('Mountains!',
                                style: TextStyle(
                                    color: Colors.black,
                                    fontStyle: FontStyle.italic,
                                    fontSize: 60,
                                    fontWeight: FontWeight.bold,
                                ),
                            ),
                        ),
                    ],
                ),
            );
        }
} 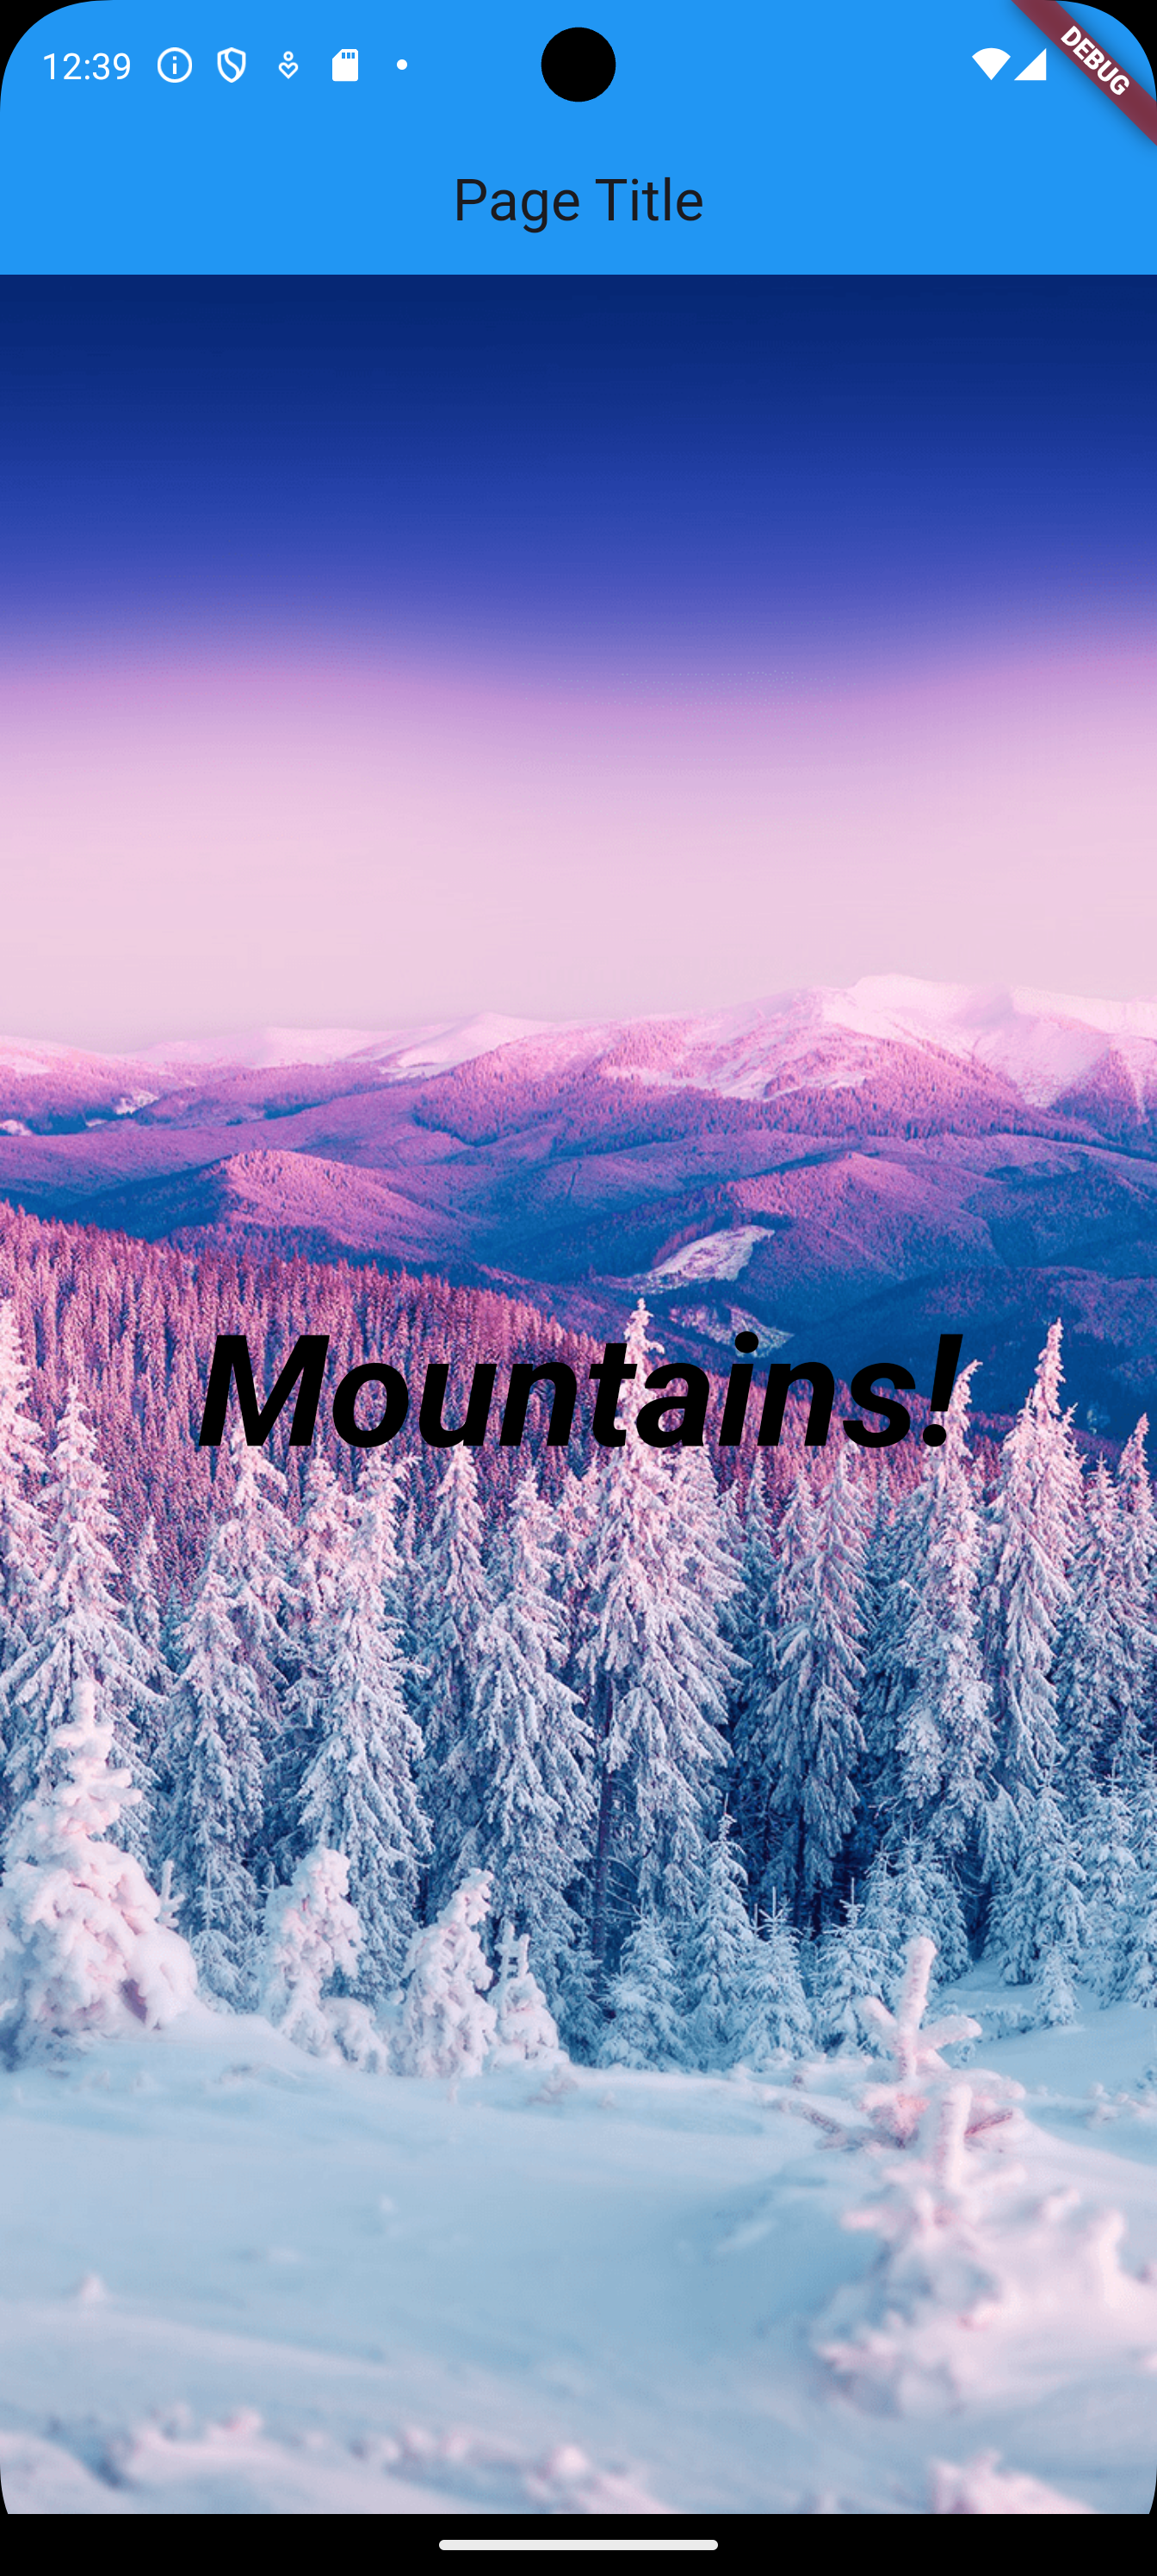
So far, we have positioned the two widgets on top of each other by using Center for each widget. Now, let’s position the text in a different position than the center.
    import 'package:flutter/material.dart';

    void main() {
        runApp(MaterialApp(
            home: Home(),
        ));
    }

    class Home extends StatelessWidget {
        @override
        Widget build(BuildContext context) {
            return Scaffold(
                appBar: AppBar(
                    title: const Text('Page Title'),
                    centerTitle: true,
                    backgroundColor: Colors.blue[500],
                ),
                body: Stack(
                    children: [
                        Center(
                            child: Image.asset(
                                'lib/assets/images/snow-1.png',
                                fit: BoxFit.fill,
                                height: double.infinity,
                                width: double.infinity,
                            )
                        ),
                        Align(
                            alignment: Alignment.topCenter,
                            child: Text('Mountains!',
                                style: TextStyle(
                                    color: Colors.black,
                                    fontStyle: FontStyle.italic,
                                    fontSize: 60,
                                    fontWeight: FontWeight.bold,
                                ),
                            ),
                        ),
                    ],
                ),
            );
        }
} 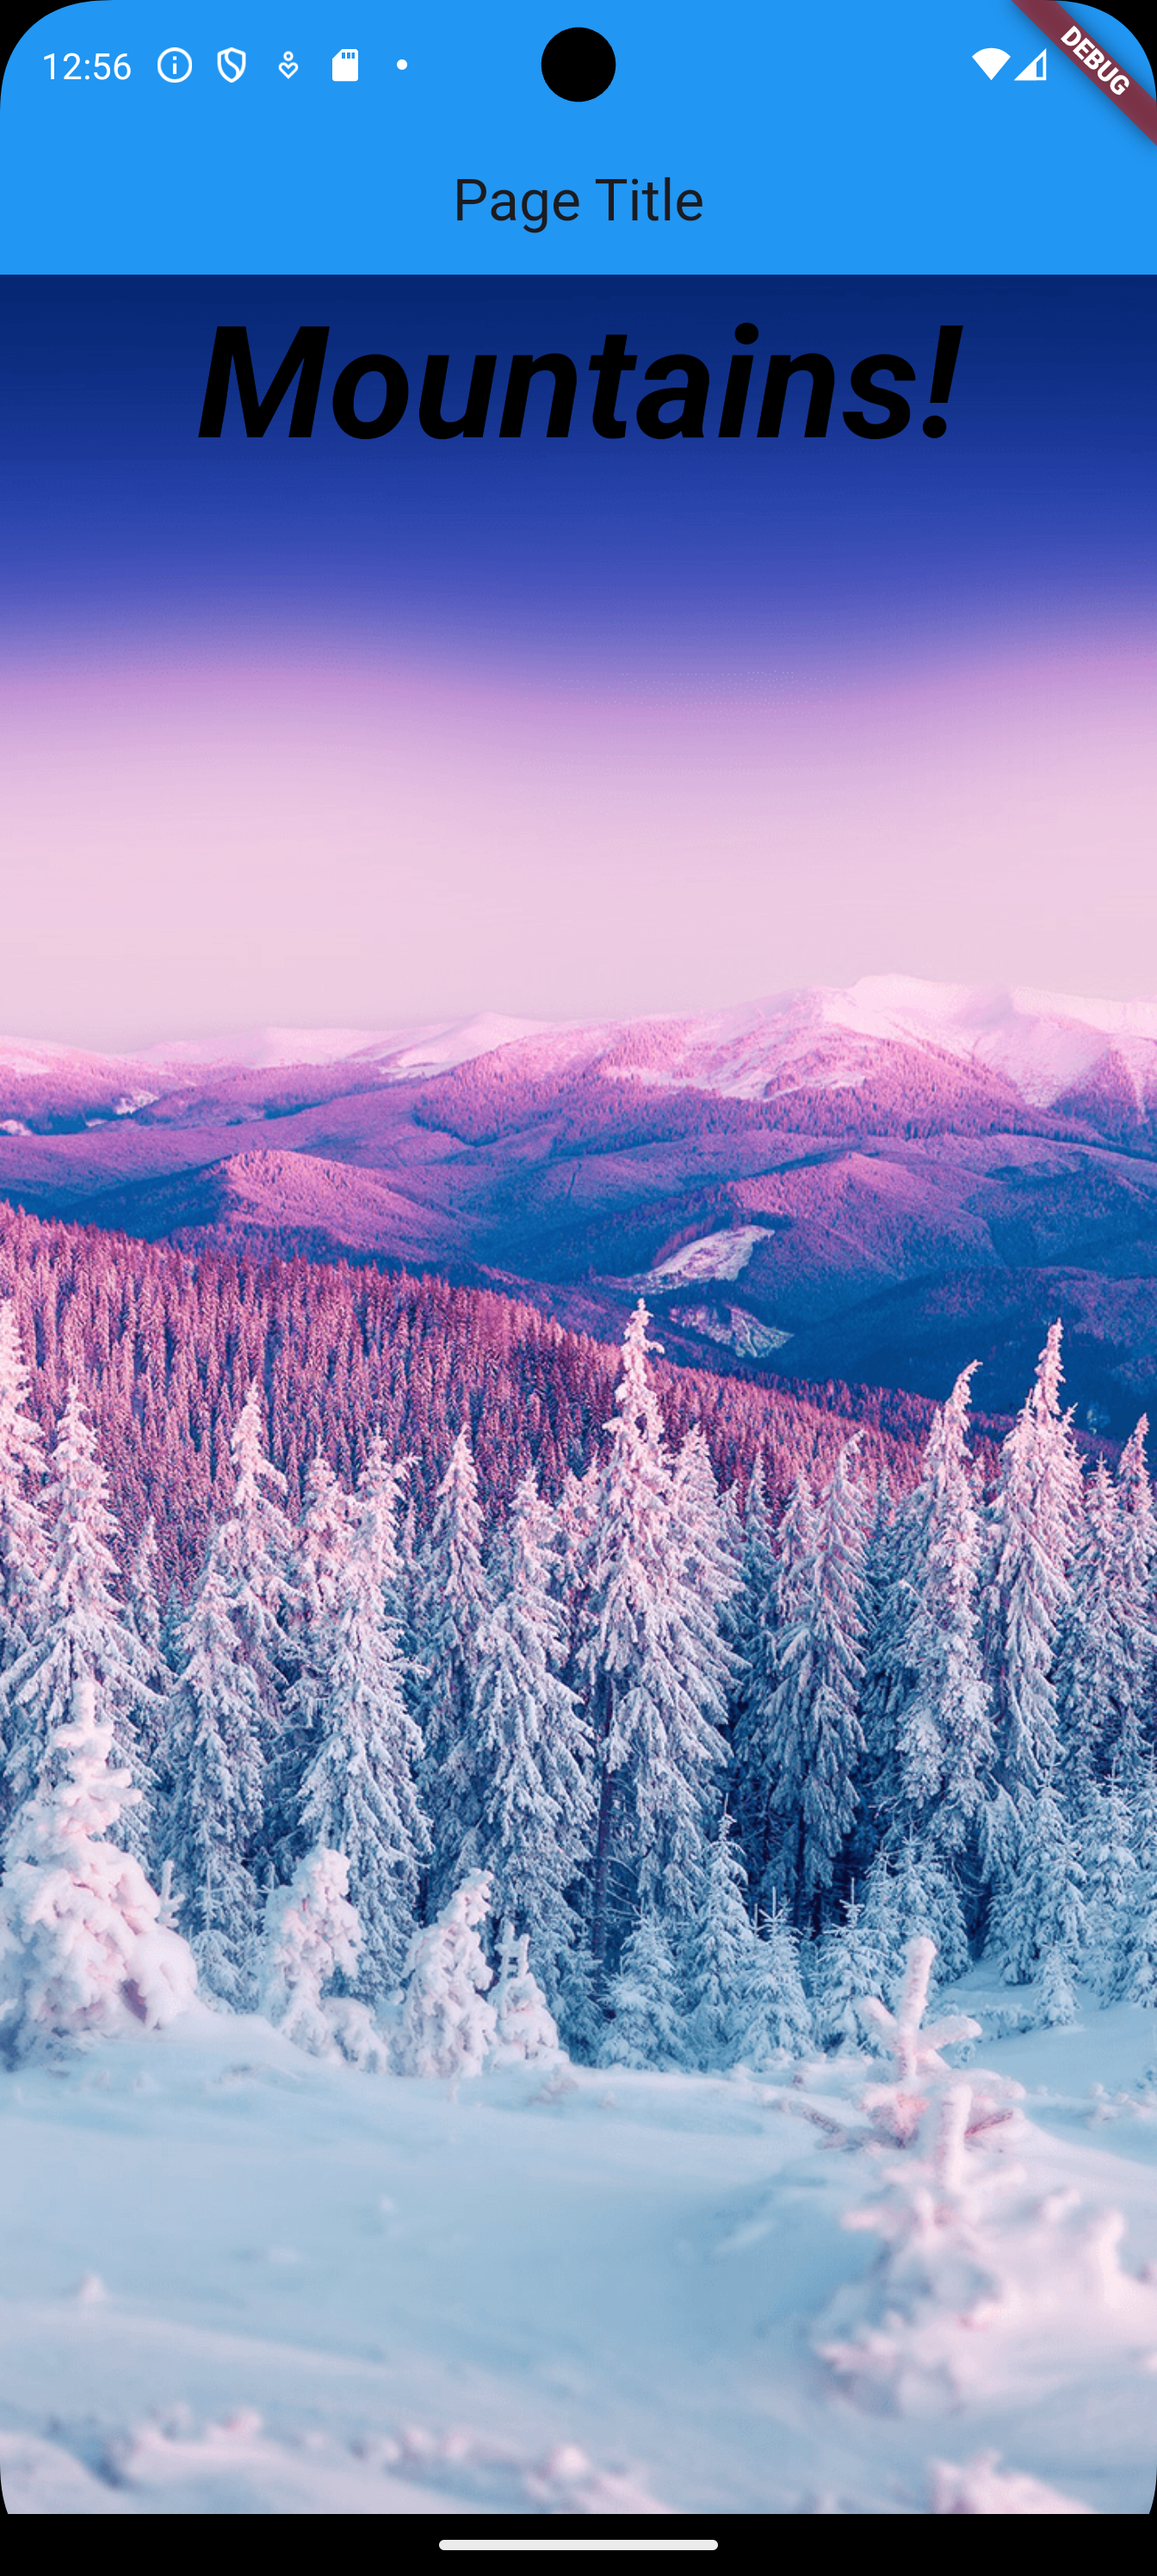
If we want to fine-tune the position of the text a little further, we use the Container widget with padding as follows.
    import 'package:flutter/material.dart';

    void main() {
        runApp(MaterialApp(
        home: Home(),
        ));
    }

    class Home extends StatelessWidget {
        @override
        Widget build(BuildContext context) {
            return Scaffold(
                appBar: AppBar(
                    title: const Text('Page Title'),
                    centerTitle: true,
                    backgroundColor: Colors.blue[500],
                ),
                body: Stack(
                    children: [
                        Center(
                            child: Image.asset(
                                'lib/assets/images/snow-1.png',
                                fit: BoxFit.fill,
                                height: double.infinity,
                                width: double.infinity,
                            )
                        ),
                        Align(
                            alignment: Alignment.topCenter,
                            child: Container(
                                // Around the container
                                margin: EdgeInsets.only(top: 100),
                                // Inside the container,
                                // around the text
                                //padding: EdgeInsets.all(10),
                                child: Text(
                                    'Mountains!',
                                        style: TextStyle(
                                        color: Colors.black,
                                        fontStyle: FontStyle.italic,
                                        fontSize: 60,
                                        fontWeight: FontWeight.bold,
                                    ),
                                ),
                            ),
                        ),
                    ],
                ),
            );
        }
} 
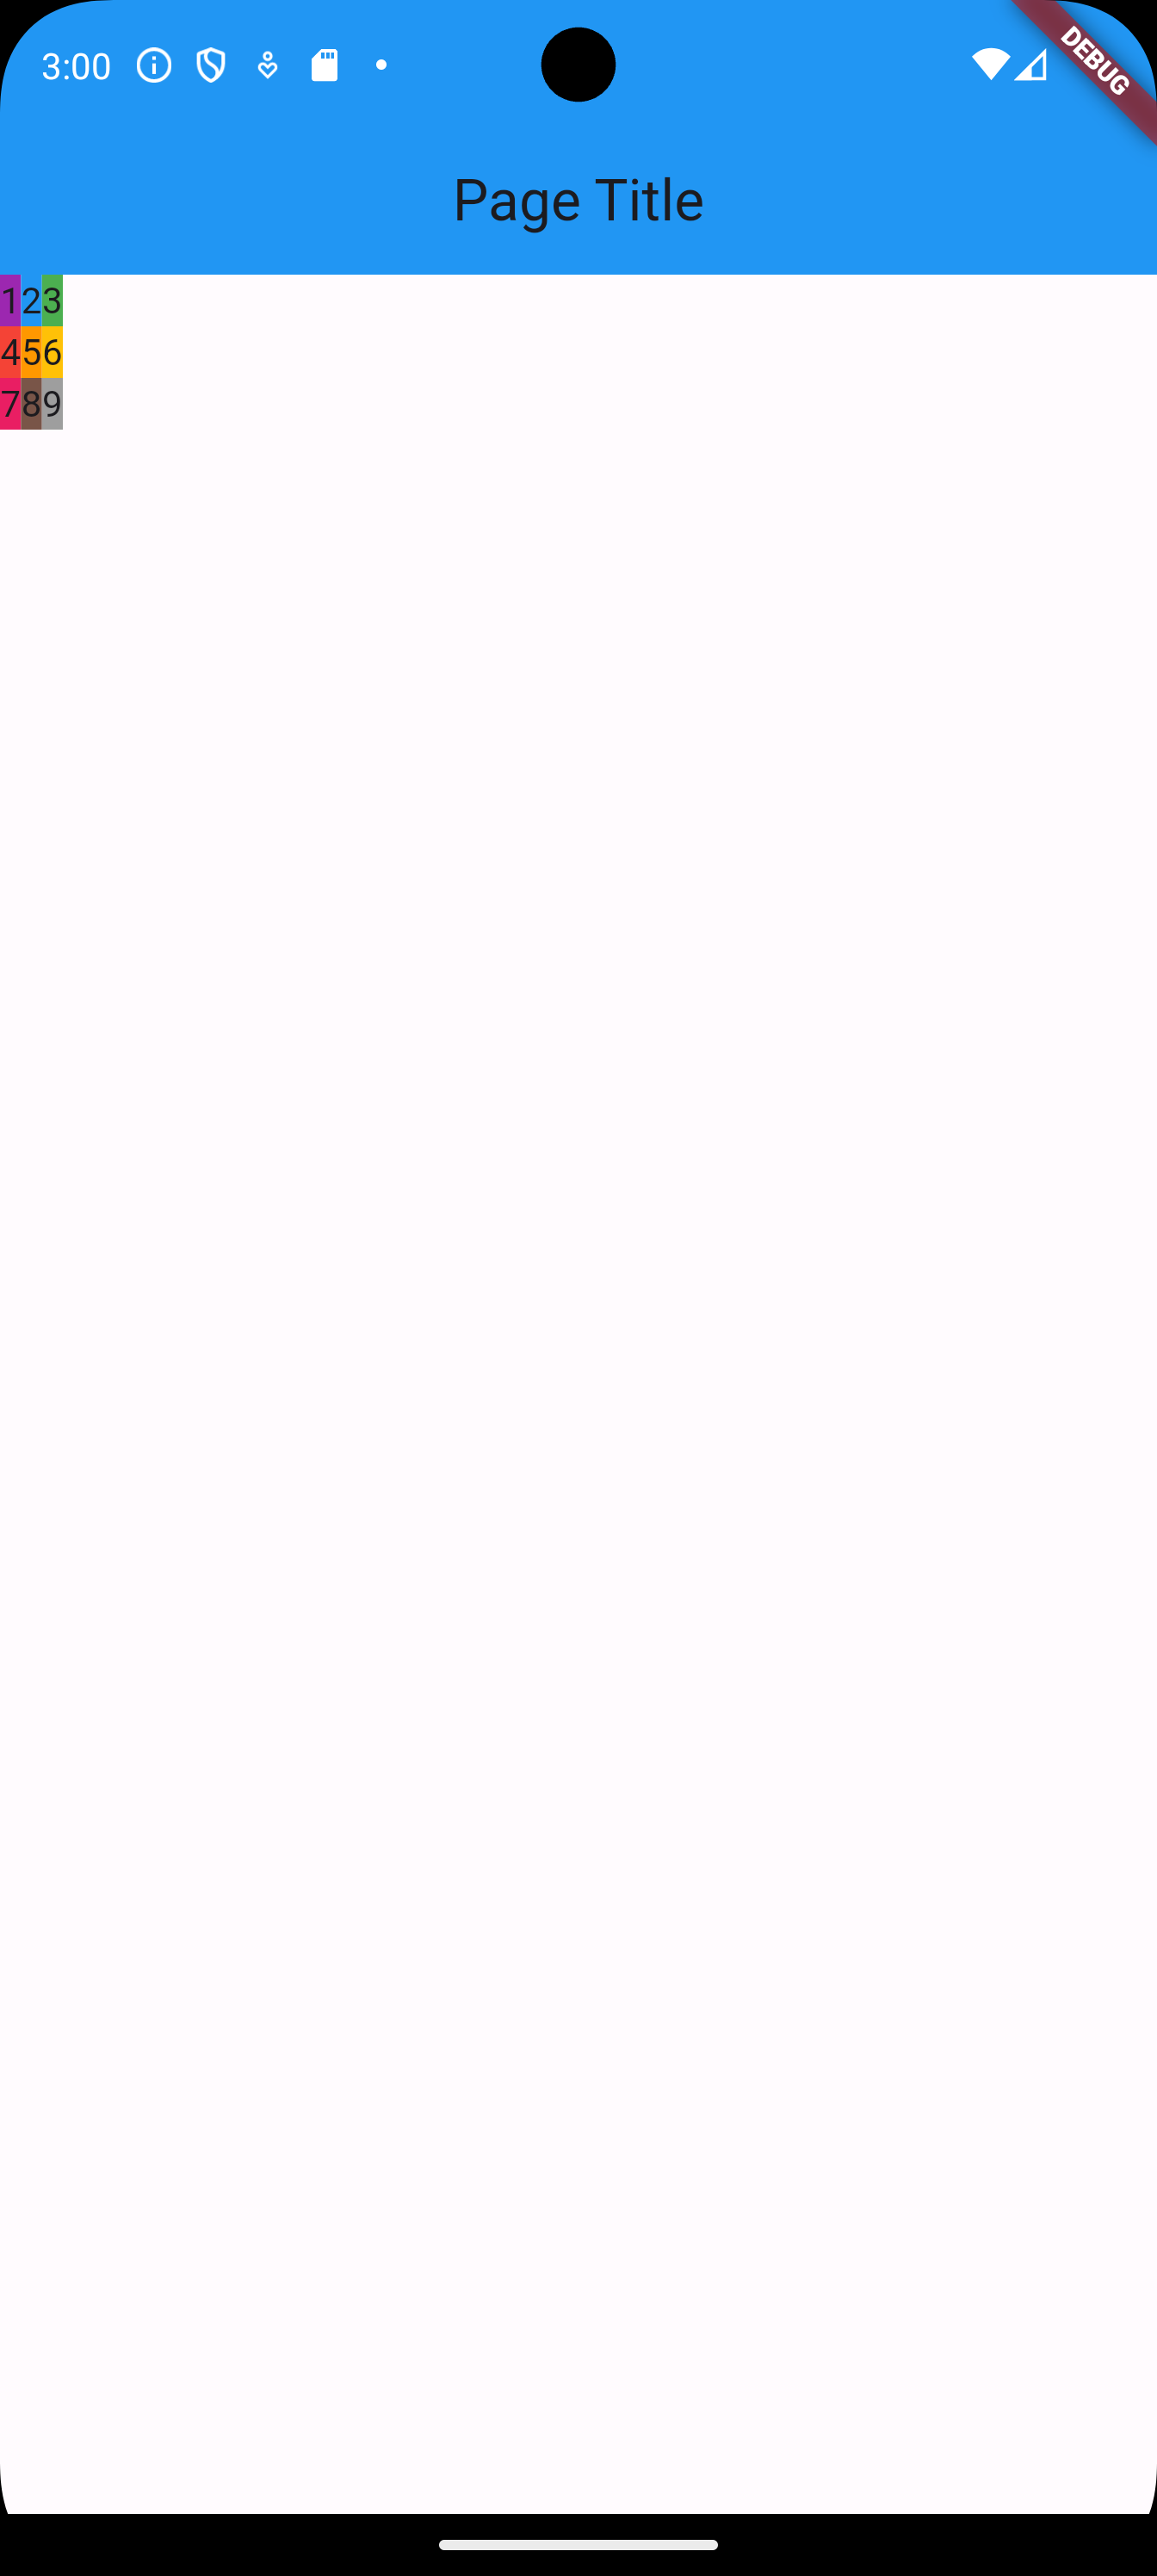
1.10 Columns, Rows, and Containers
Let’s build a grid of nice cells.
    import 'package:flutter/material.dart';

    void main() {
        runApp(MaterialApp(
            home: Home(),
        ));
    }

    class Home extends StatelessWidget {
        @override
        Widget build(BuildContext context) {
            return Scaffold(
                appBar: AppBar(
                    title: const Text('Page Title'),
                    centerTitle: true,
                    backgroundColor: Colors.blue[500],
                ),
                body: Column(
                    children: [
                        Row(
                            children: [
                                Container(
                                    color: Colors.purple,
                                    child: Text('1'),
                                ),
                                Container(
                                    color: Colors.blue,
                                    child: Text('2'),
                                ),
                                Container(
                                    color: Colors.green,
                                    child: Text('3'),
                                ),
                            ]
                        ),
                        Row(
                            children: [
                                Container(
                                    color: Colors.red,
                                    child: Text('4'),
                                ),
                                Container(
                                    color: Colors.orange,
                                    child: Text('5'),
                                ),
                                Container(
                                    color: Colors.amber,
                                    child: Text('6'),
                                ),
                            ]
                        ),
                        Row(
                            children: [
                                Container(
                                    color: Colors.pink,
                                    child: Text('7'),
                                ),
                                Container(
                                    color: Colors.brown,
                                    child: Text('8'),
                                ),
                                Container(
                                    color: Colors.grey,
                                    child: Text('9'),
                                ),
                            ]
                        ),
                    ],
                ),
            );
        }
} 
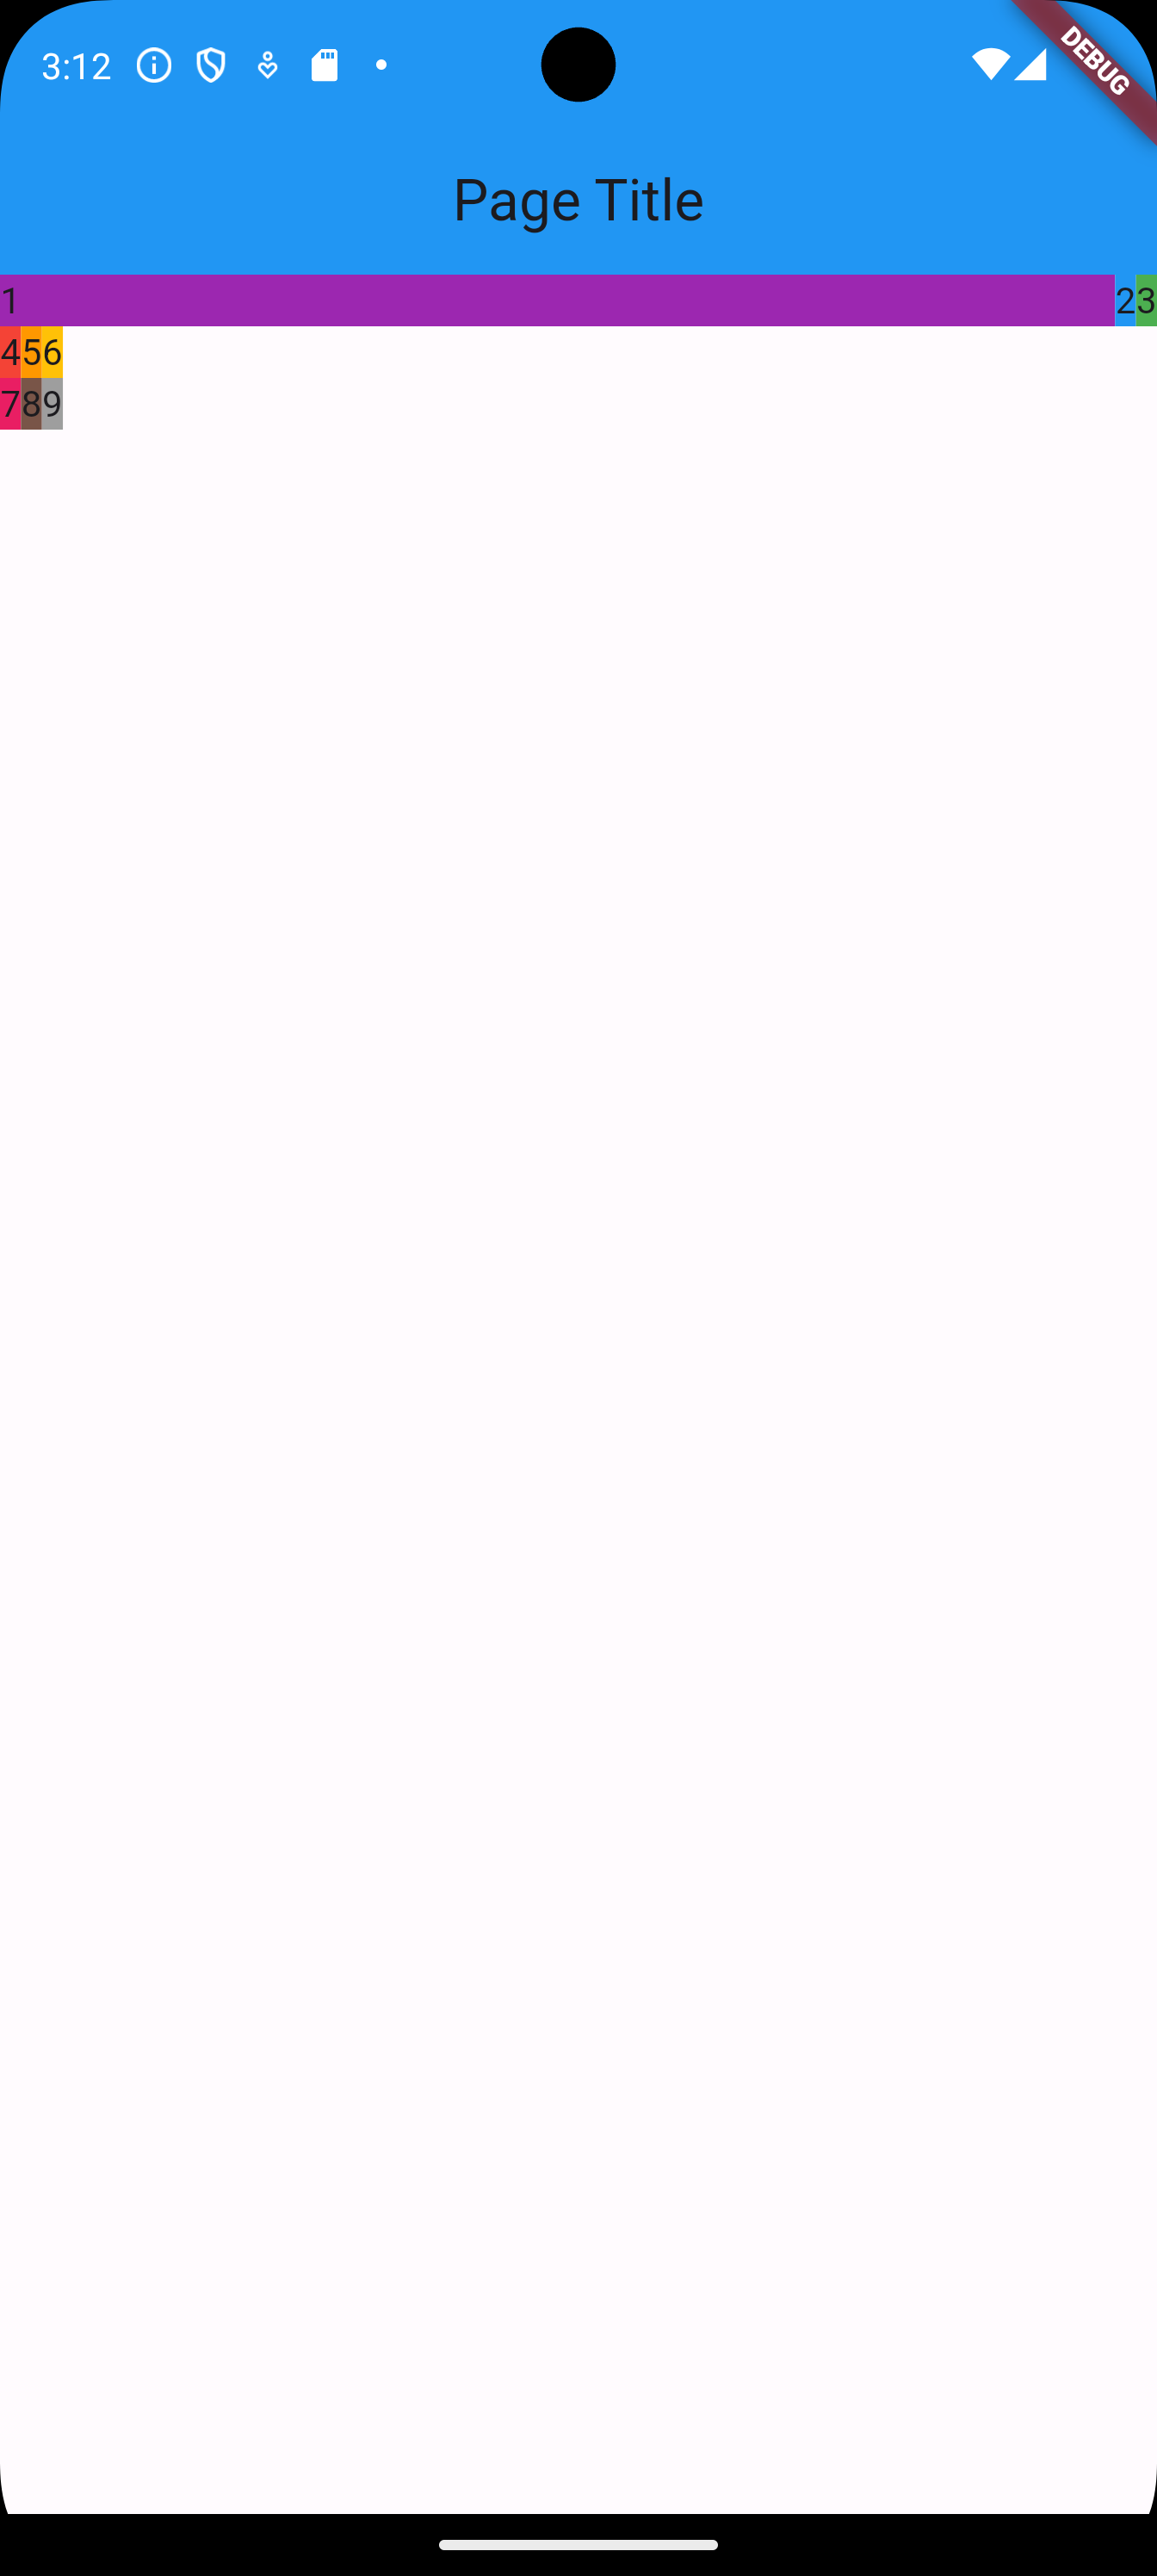
In order to stretch the cells of the grid across the entire screen, we apply the widget Expanded on Container.
Let’s apply it to the first container.
    import 'package:flutter/material.dart';

    void main() {
        runApp(MaterialApp(
            home: Home(),
        ));
    }

    class Home extends StatelessWidget {
        @override
        Widget build(BuildContext context) {
            return Scaffold(
                appBar: AppBar(
                    title: const Text('Page Title'),
                    centerTitle: true,
                    backgroundColor: Colors.blue[500],
                ),
                body: Column(
                    children: [
                        Row(
                            children: [
                                Expanded(
                                    child: Container(
                                        color: Colors.purple,
                                        child: Text('1'),
                                    ),
                                ),
                                Container(
                                    color: Colors.blue,
                                    child: Text('2'),
                                ),
                                Container(
                                    color: Colors.green,
                                    child: Text('3'),
                                ),
                            ]
                        ),
                        Row(
                            children: [
                                Container(
                                    color: Colors.red,
                                    child: Text('4'),
                                ),
                                Container(
                                    color: Colors.orange,
                                    child: Text('5'),
                                ),
                                Container(
                                    color: Colors.amber,
                                    child: Text('6'),
                                ),
                            ]
                        ),
                        Row(
                            children: [
                                Container(
                                    color: Colors.pink,
                                    child: Text('7'),
                                ),
                                Container(
                                    color: Colors.brown,
                                    child: Text('8'),
                                ),
                                Container(
                                    color: Colors.grey,
                                    child: Text('9'),
                                ),
                            ]
                        ),
                    ],
                ),
            );
        }
} 
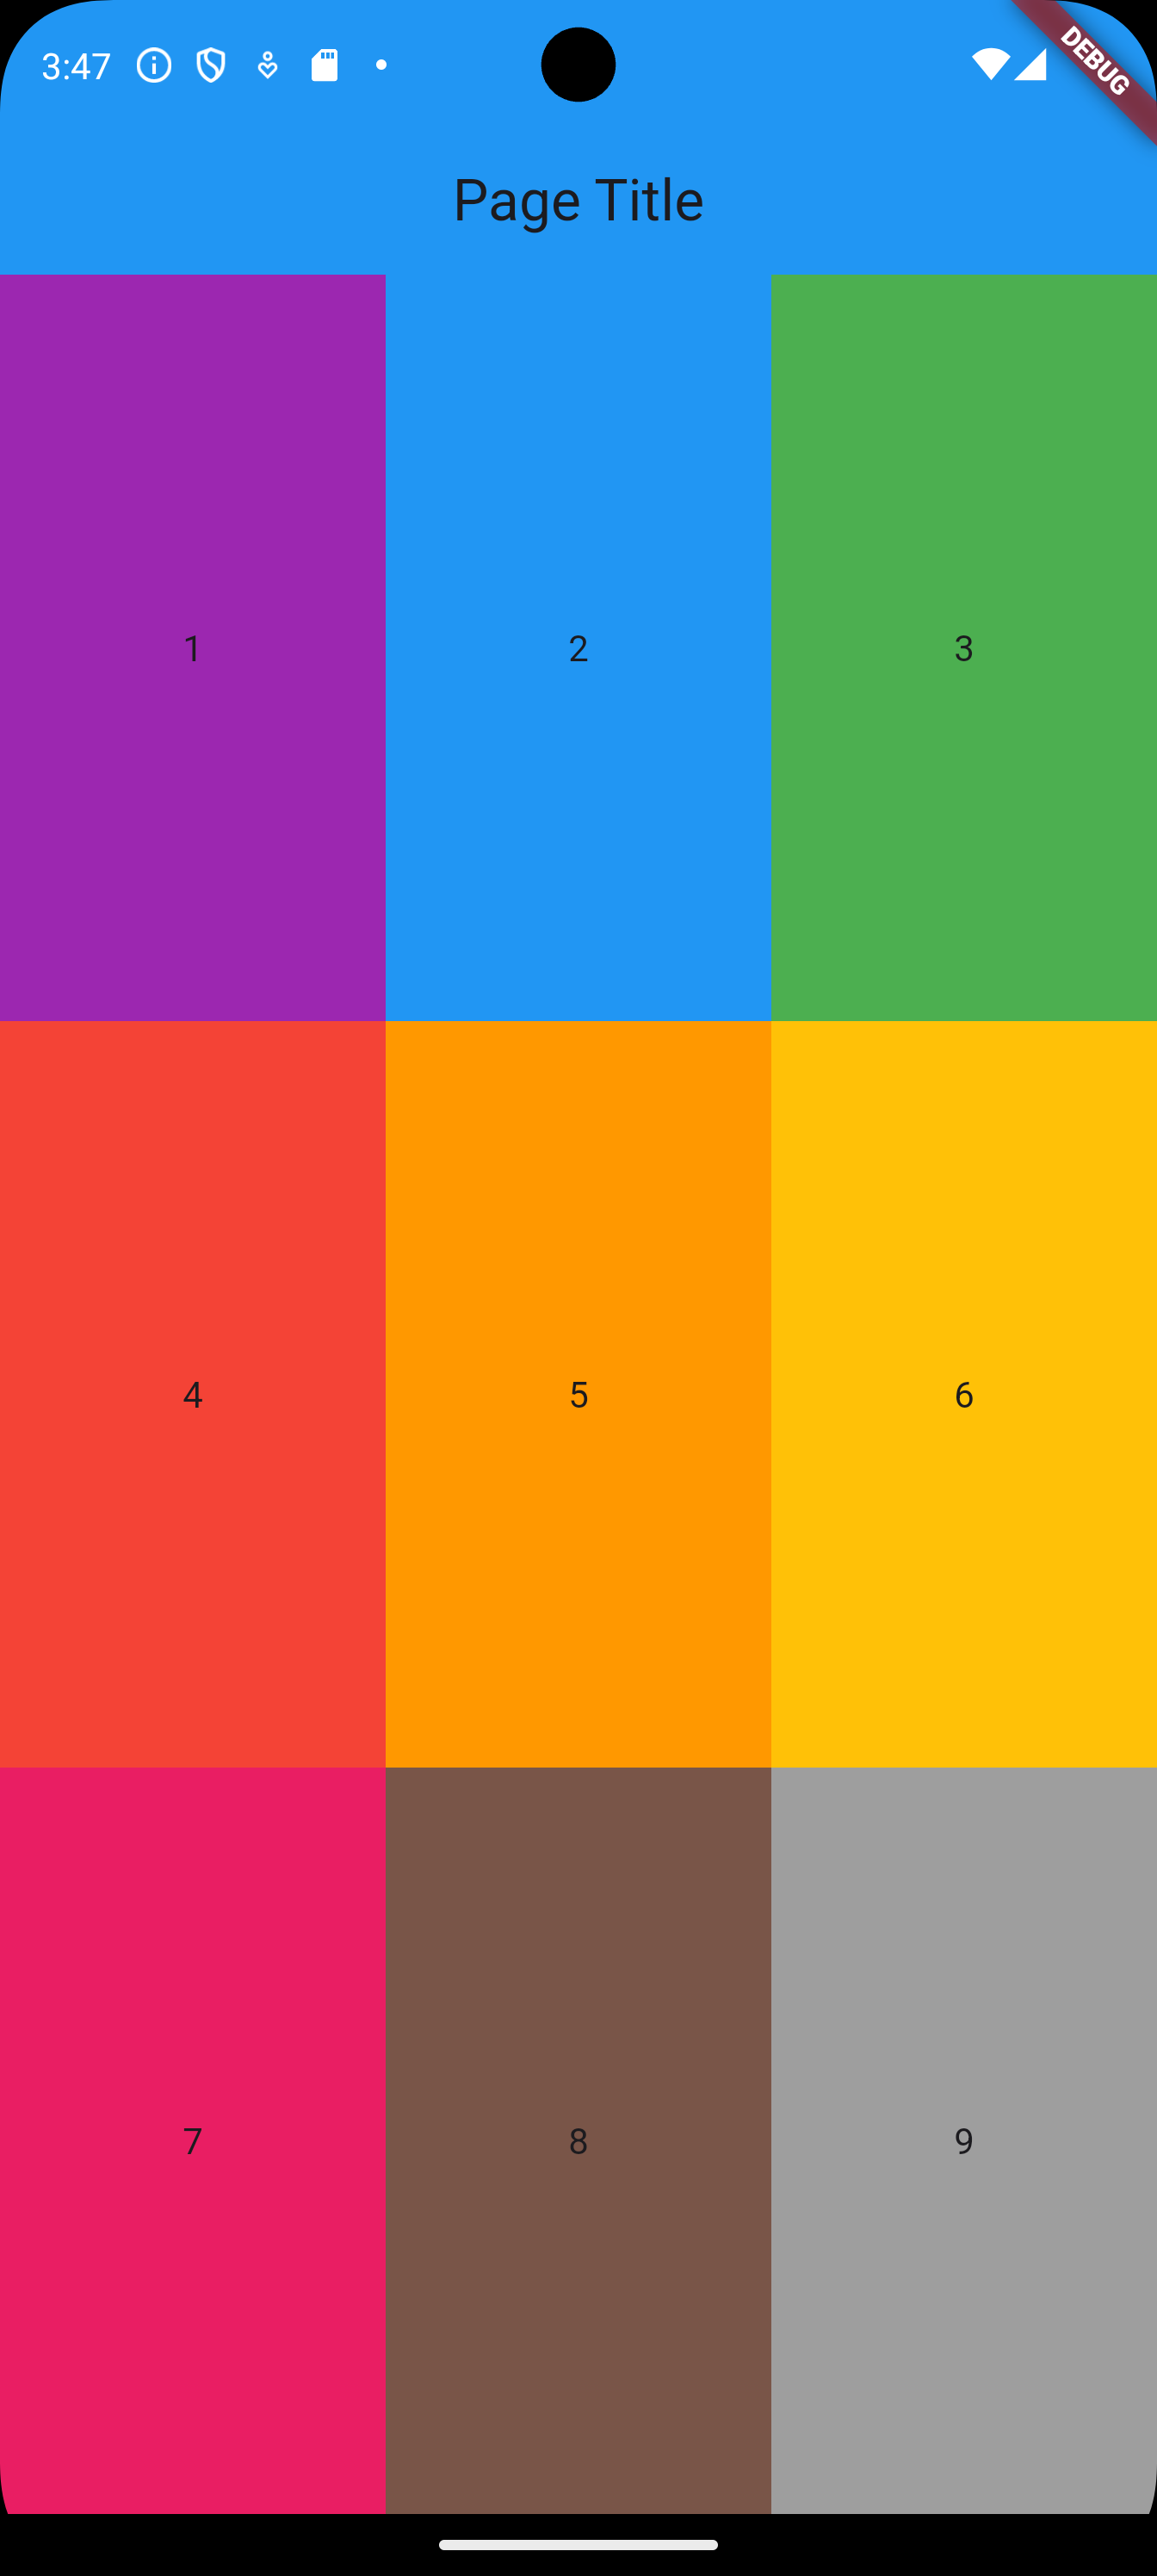
We then apply Expanded to the rows and the containers. We also need to wrap Text inside Center to allow Container to fill up the vertical space.
    import 'package:flutter/material.dart';

    void main() {
        runApp(MaterialApp(
            home: Home(),
        ));
    }

    class Home extends StatelessWidget {
        @override
        Widget build(BuildContext context) {
            return Scaffold(
                appBar: AppBar(
                    title: const Text('Page Title'),
                    centerTitle: true,
                    backgroundColor: Colors.blue[500],
                ),
                body: Column(
                    children: [
                        Expanded(
                            child: Row(
                                children: [
                                    Expanded(
                                        child: Container(
                                            color: Colors.purple,
                                            child: Center(
                                                child: Text('1'),
                                            ),
                                        ),
                                    ),
                                    Expanded(
                                        child: Container(
                                            color: Colors.blue,
                                            child: Center(
                                                child: Text('2'),
                                            ),
                                        ),
                                    ),
                                    Expanded(
                                        child: Container(
                                            color: Colors.green,
                                            child: Center(
                                                child: Text('3'),
                                            ),
                                        ),
                                    ),
                                ]
                            ),
                        ),
                        Expanded(
                            child: Row(
                                children: [
                                    Expanded(
                                        child: Container(
                                            color: Colors.red,
                                            child: Center(
                                                child: Text('4'),
                                            ),
                                        ),
                                    ),
                                    Expanded(
                                        child: Container(
                                            color: Colors.orange,
                                            child: Center(
                                                child: Text('5'),
                                            ),
                                        ),
                                    ),
                                    Expanded(
                                        child: Container(
                                            color: Colors.amber,
                                            child: Center(
                                                child: Text('6'),
                                            ),
                                        ),
                                    ),
                                ],
                            ),
                        ),
                        Expanded(
                            child: Row(
                                children: [
                                    Expanded(
                                        child: Container(
                                            color: Colors.pink,
                                            child: Center(
                                                child: Text('7'),
                                            ),
                                        ),
                                    ),
                                    Expanded(
                                        child: Container(
                                            color: Colors.brown,
                                            child: Center(
                                                child: Text('8'),
                                            ),
                                        ),
                                    ),
                                    Expanded(
                                        child: Container(
                                            color: Colors.grey,
                                            child: Center(
                                                child: Text('9'),
                                            ),
                                        ),
                                    ),
                                ],
                            ),
                        ),
                    ],
                ),
            );
        }
    }